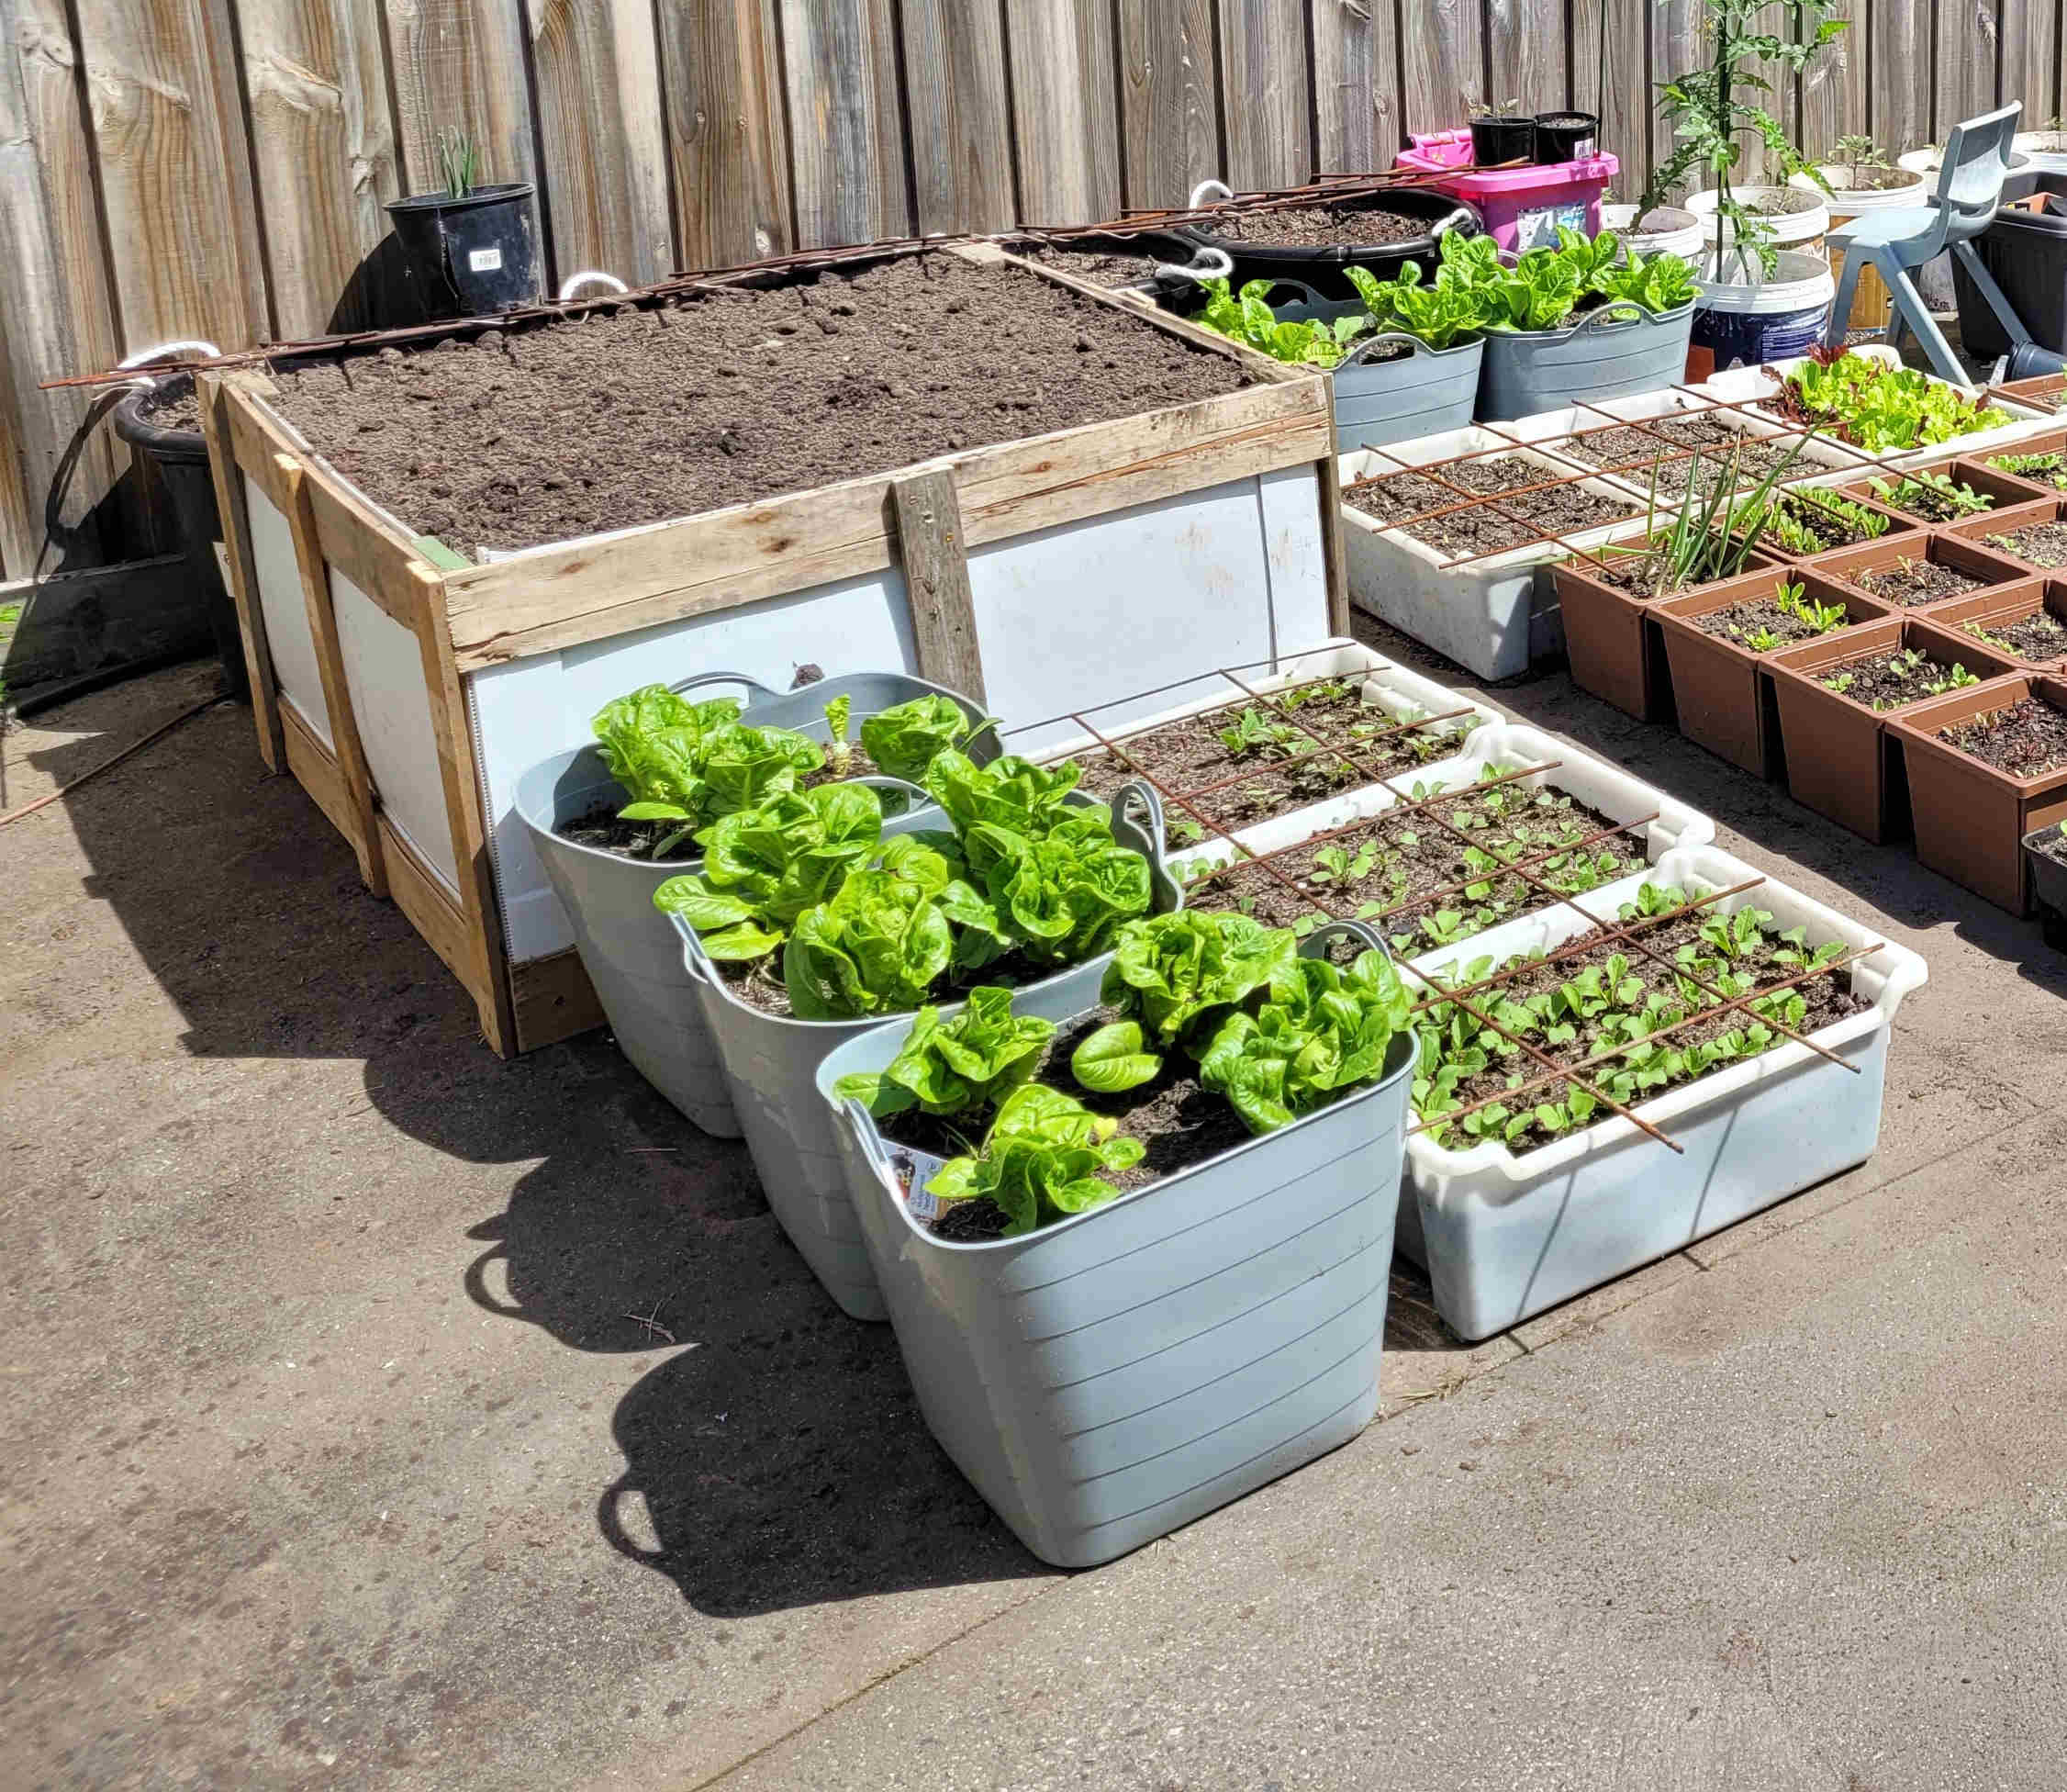
Planter boxes using corflute and milk crates
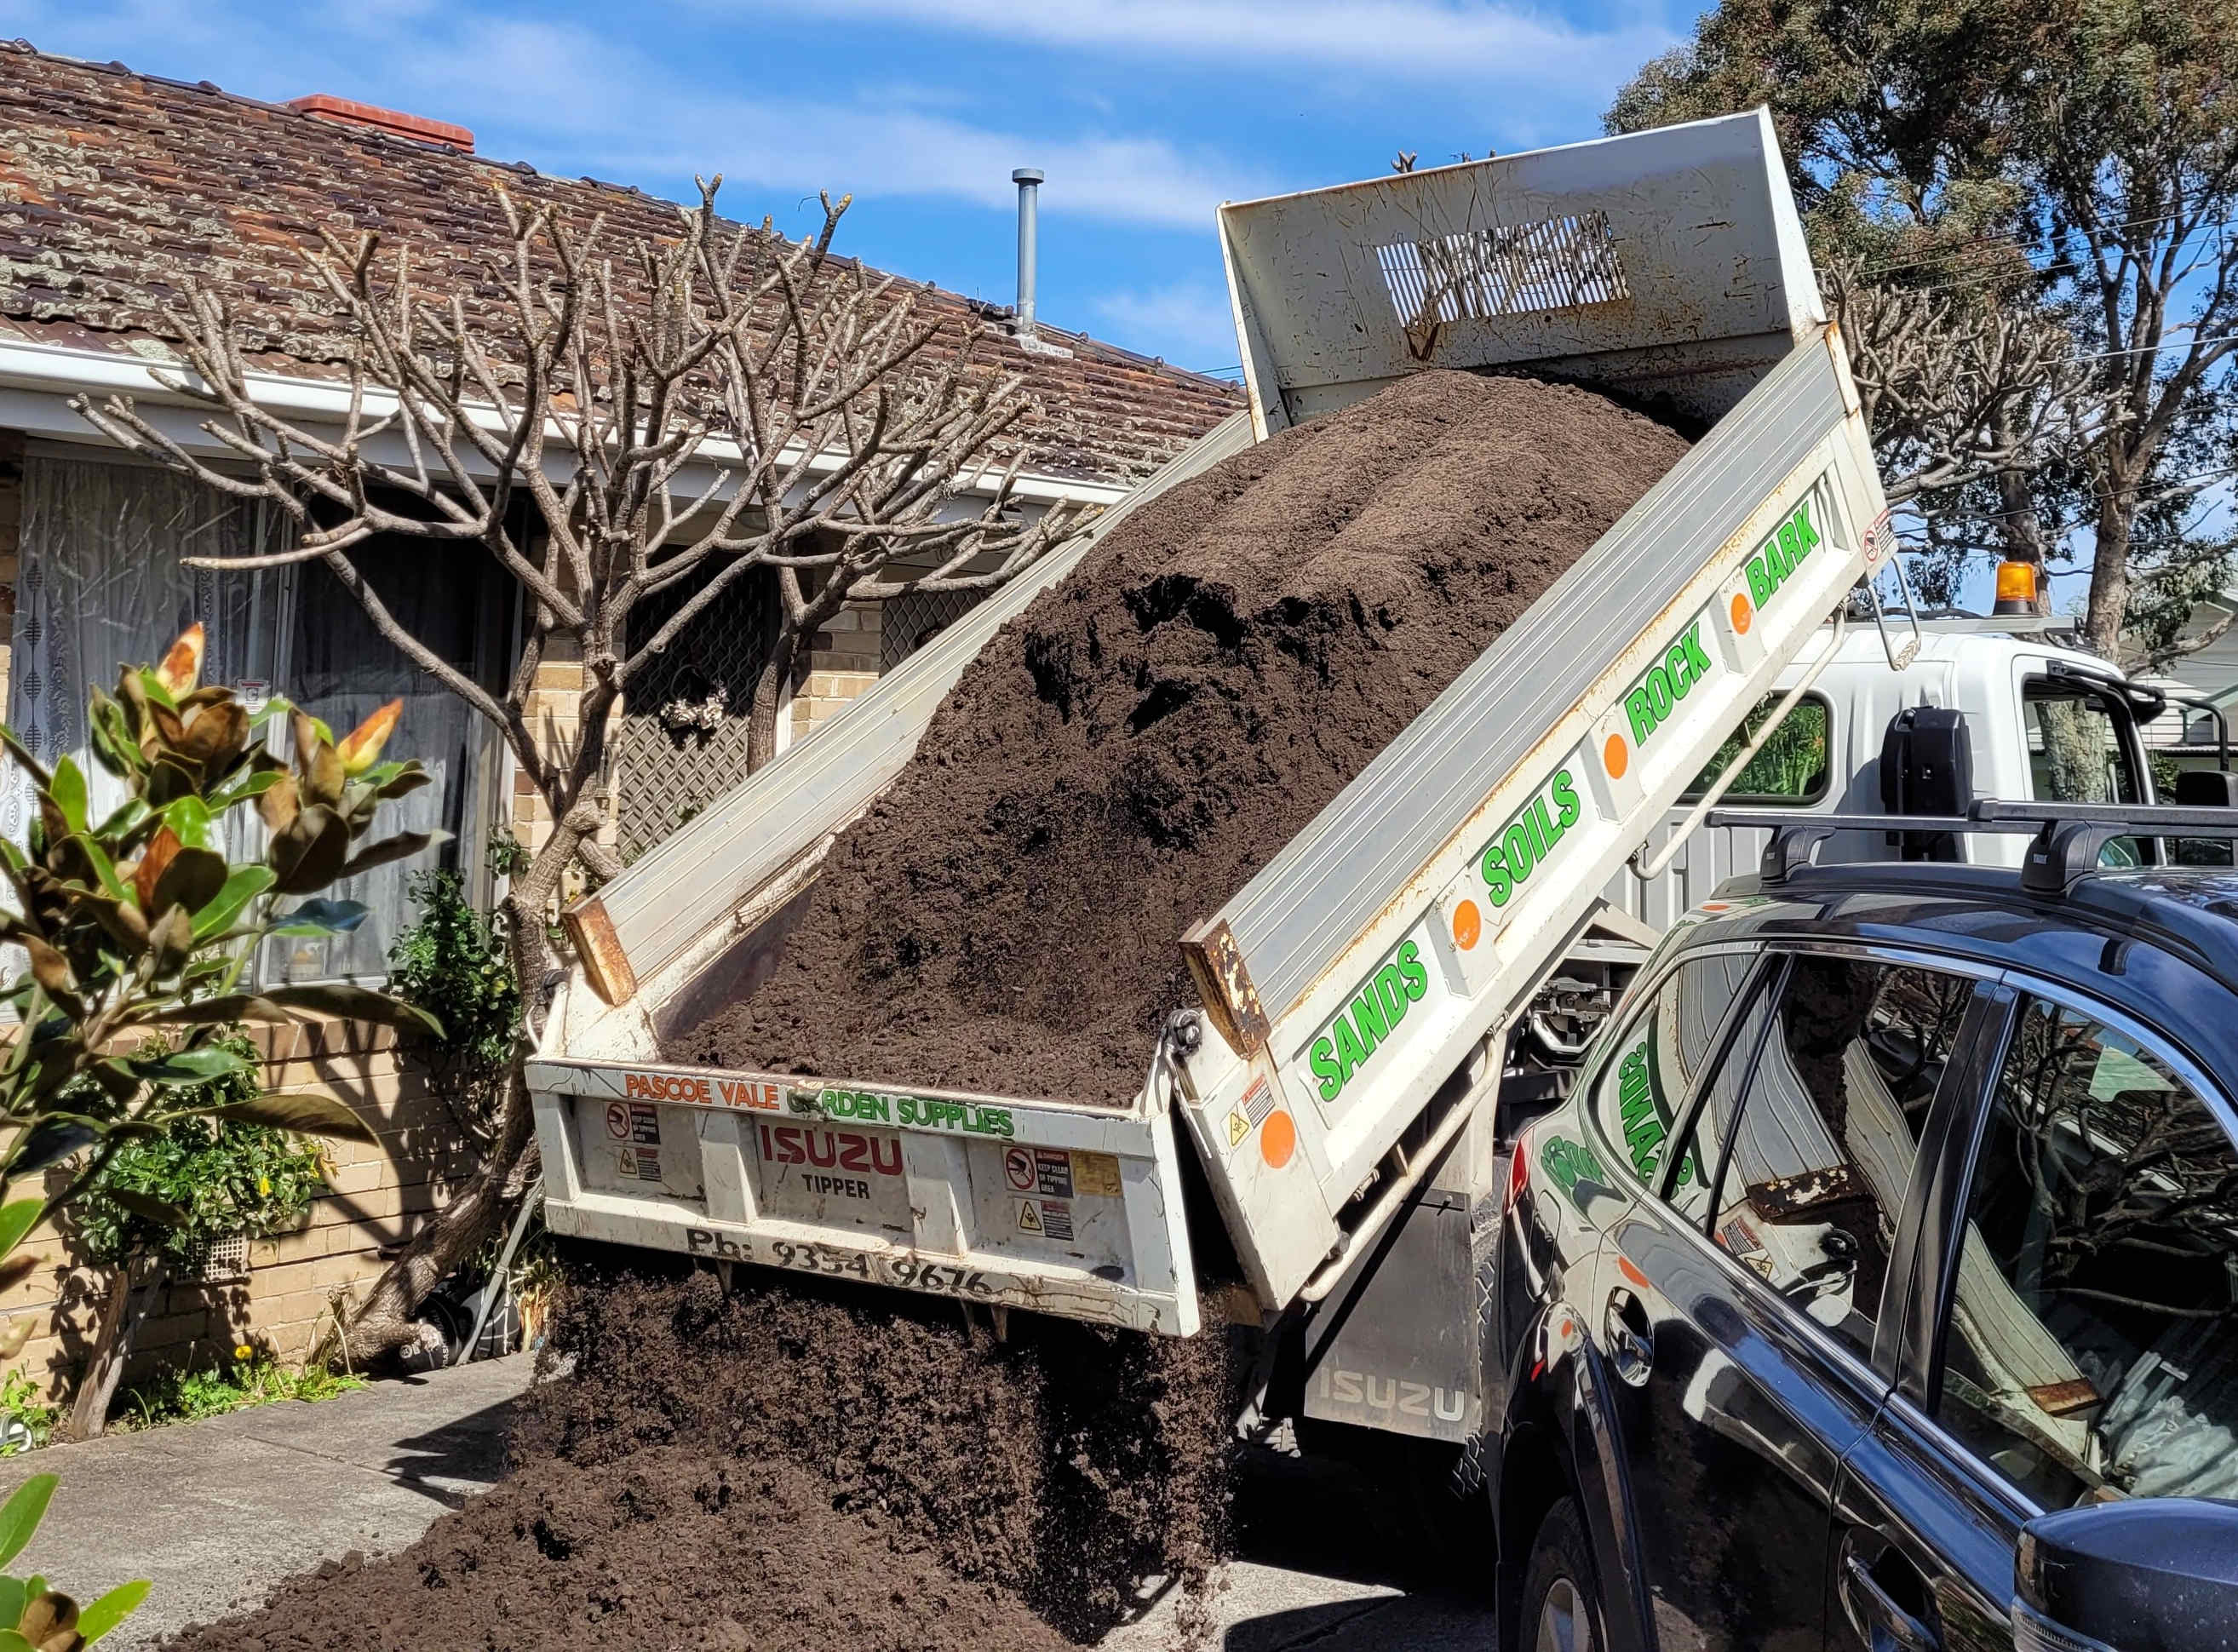
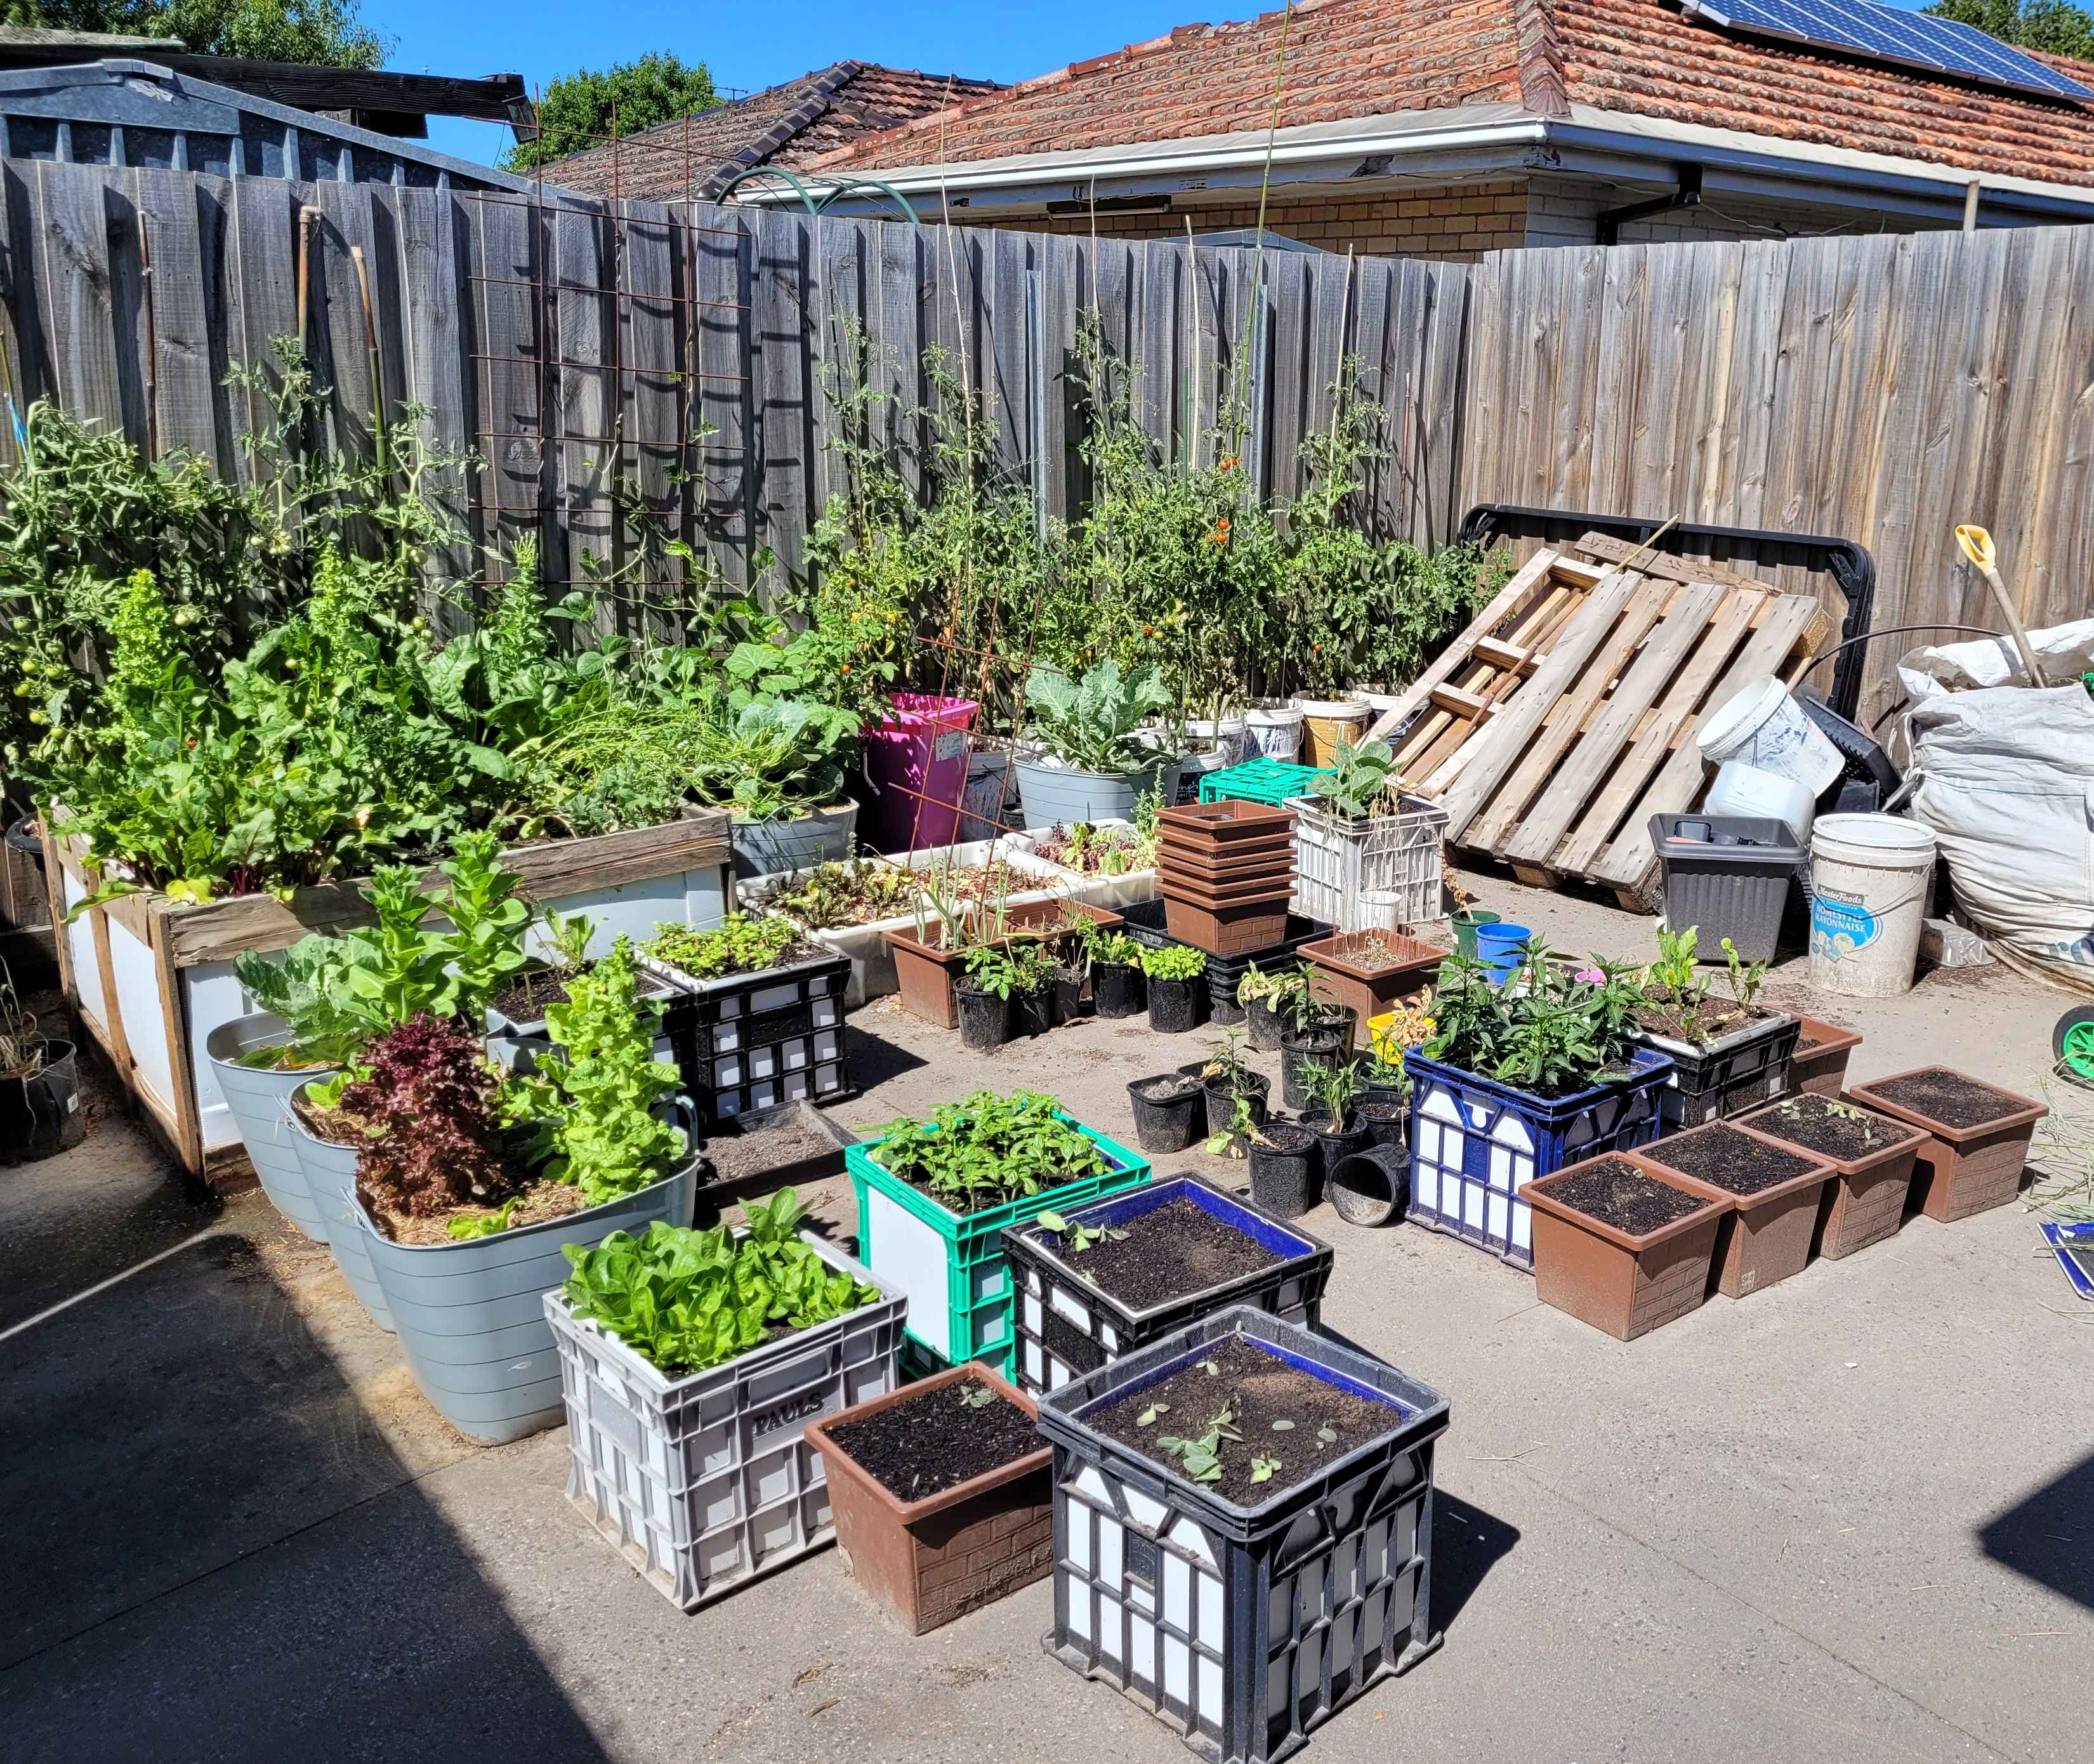
There’s no soil where we live, just a concrete space. Everything we plant has to be in a container of some sort, and our soil (3m² of it) was shipped in on a truck:
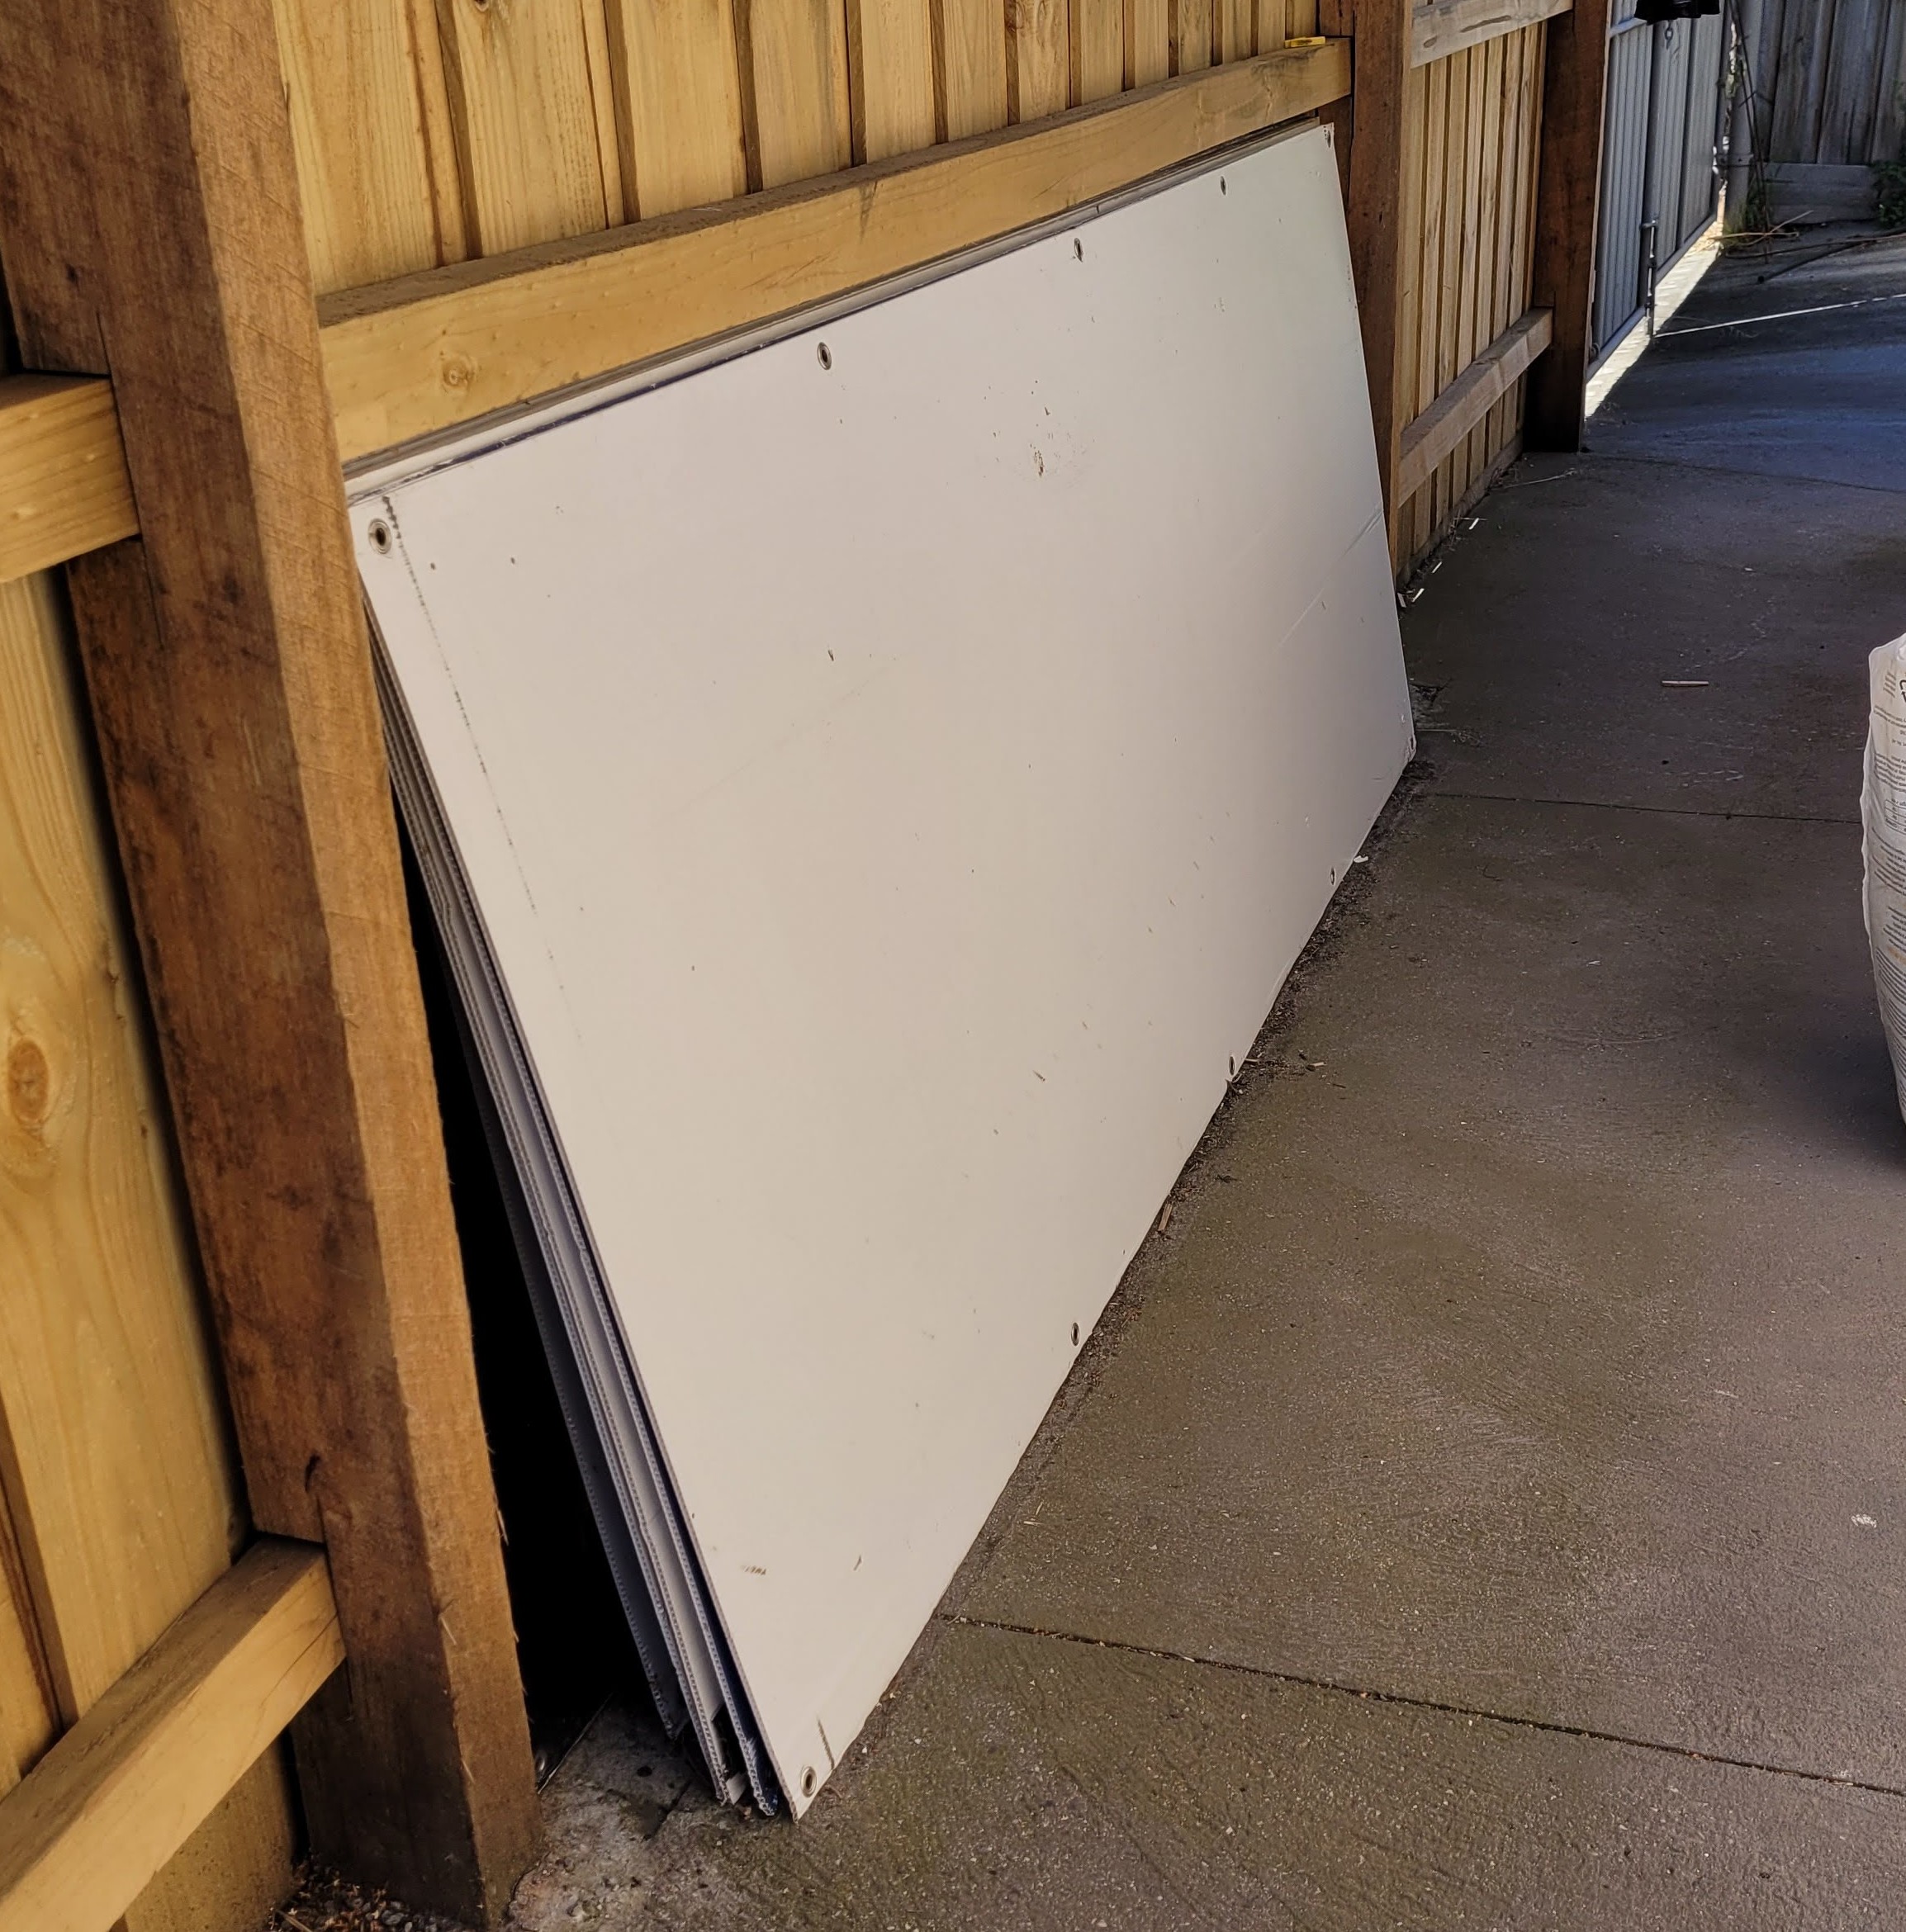
When exploring container ideas, we wanted something that was cheap, and that was deep enough for growing vegetables. If soil isn’t deep enough, vegies either grow extremely slowly, go straight to seed, or both. I kept my eye out for options which minimised cost while being deep enough. Some experiments showed me that plastic milk crates are deep enough, and can be found in large quantities out the back of cafes and supermarkets. And what to line the crates with? I found a large stack of corflute (corrugated plastic) that had been used for advertising. The sheets aren’t small: 2.4m x 0.9m.
At first I tried eyeballing how to cut out the corflute, however I kept having problems with not correctly allowing for how the flaps I wanted between the panels would alter the other dimensions. Also, upon folding up the cut-out corflute, they were either a little too large, or a little too small. After finding something that was almost right, I decided to do things the right way and design the corflute cutout in FreeCAD. FreeCAD has a mode called “Sheet Metal Workbench”, which will take a shape made of 3D planes, and open it out into a flat shape that can be refolded back into the original.
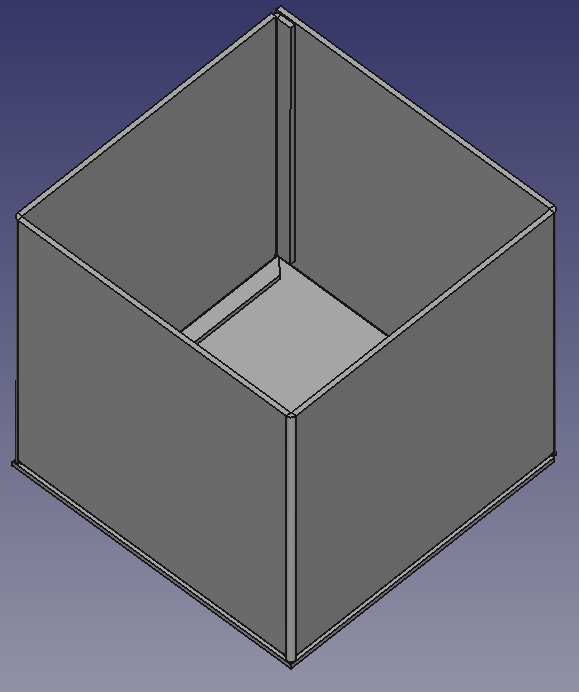
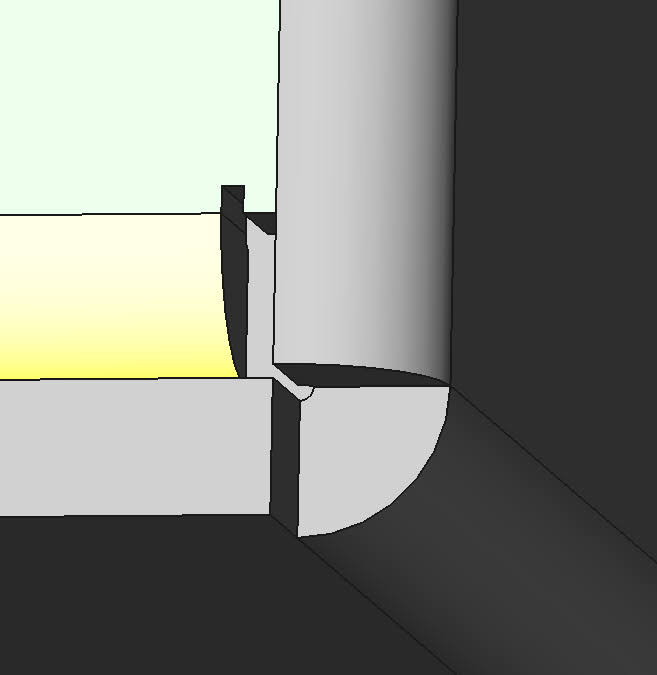
Here’s the box. I started with the base, then added the back, then from there went around adding each side. Finally I added flaps for the bottom joins and side join.
Here’s a detail of a corner up close:
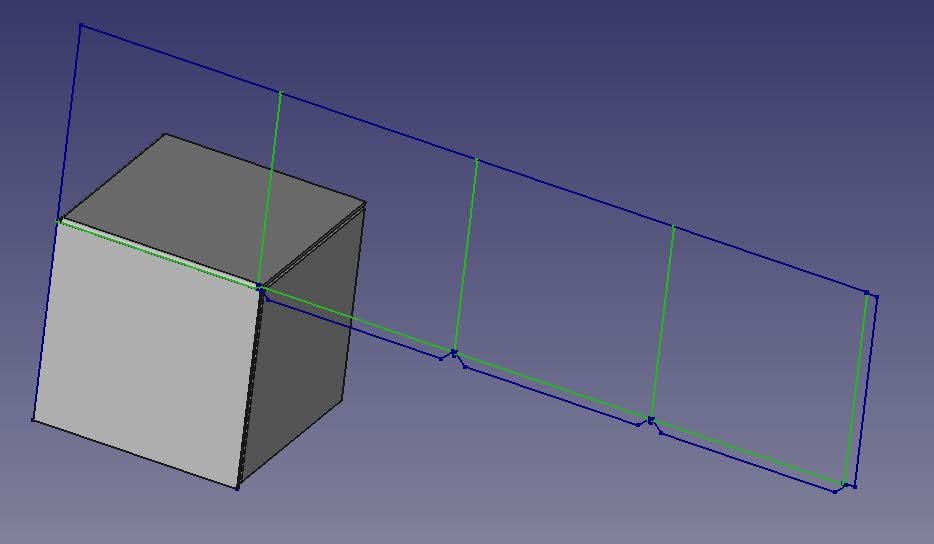
At bottom left is the base, then attached to that on the right is the back. From there I added the greenish-tinted side, and from there through the yellow-tinted fold, the flap. Finally I used the sheet metal workbench to unfold the shape. The blue lines show where to cut all the way through the corflute, and the green lines show where to only cut one side of the corflute, making a hinge.
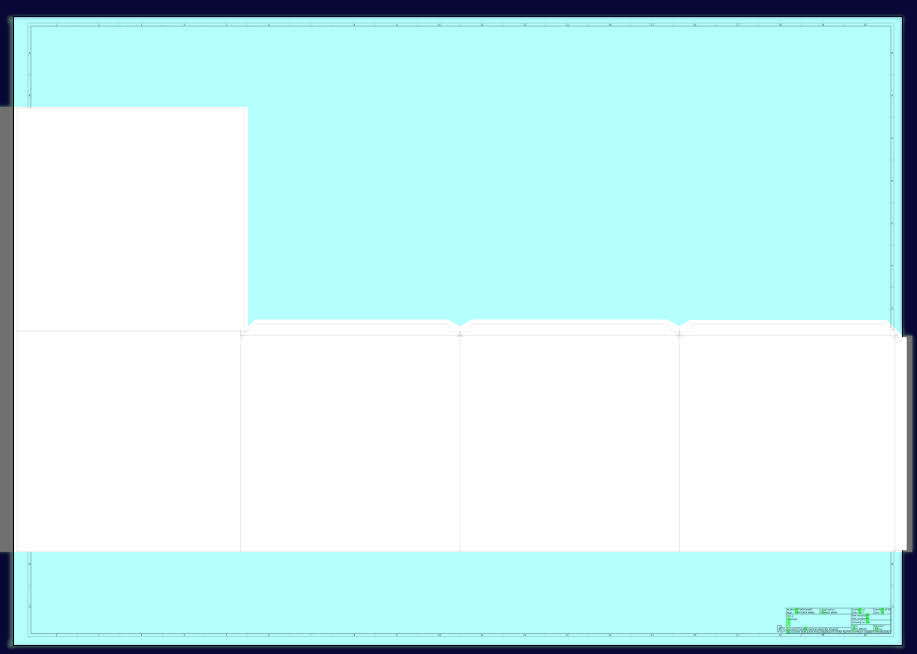
I tried marking this shape out on corflute, but it took a long time each time, and it was very easy to make mistakes. Since the shape is the same every time, what I need is a template! I worked out that Officeworks will print onto A0 paper for $5, so I plotted the shape 1:1 into an A0-sized PDF. The shape only just fits, jutting over the border slightly.
I cut out the printout, and glued it to 3mm MDF with PVA glue. Then I used a power jigsaw to cut the MDF to shape.
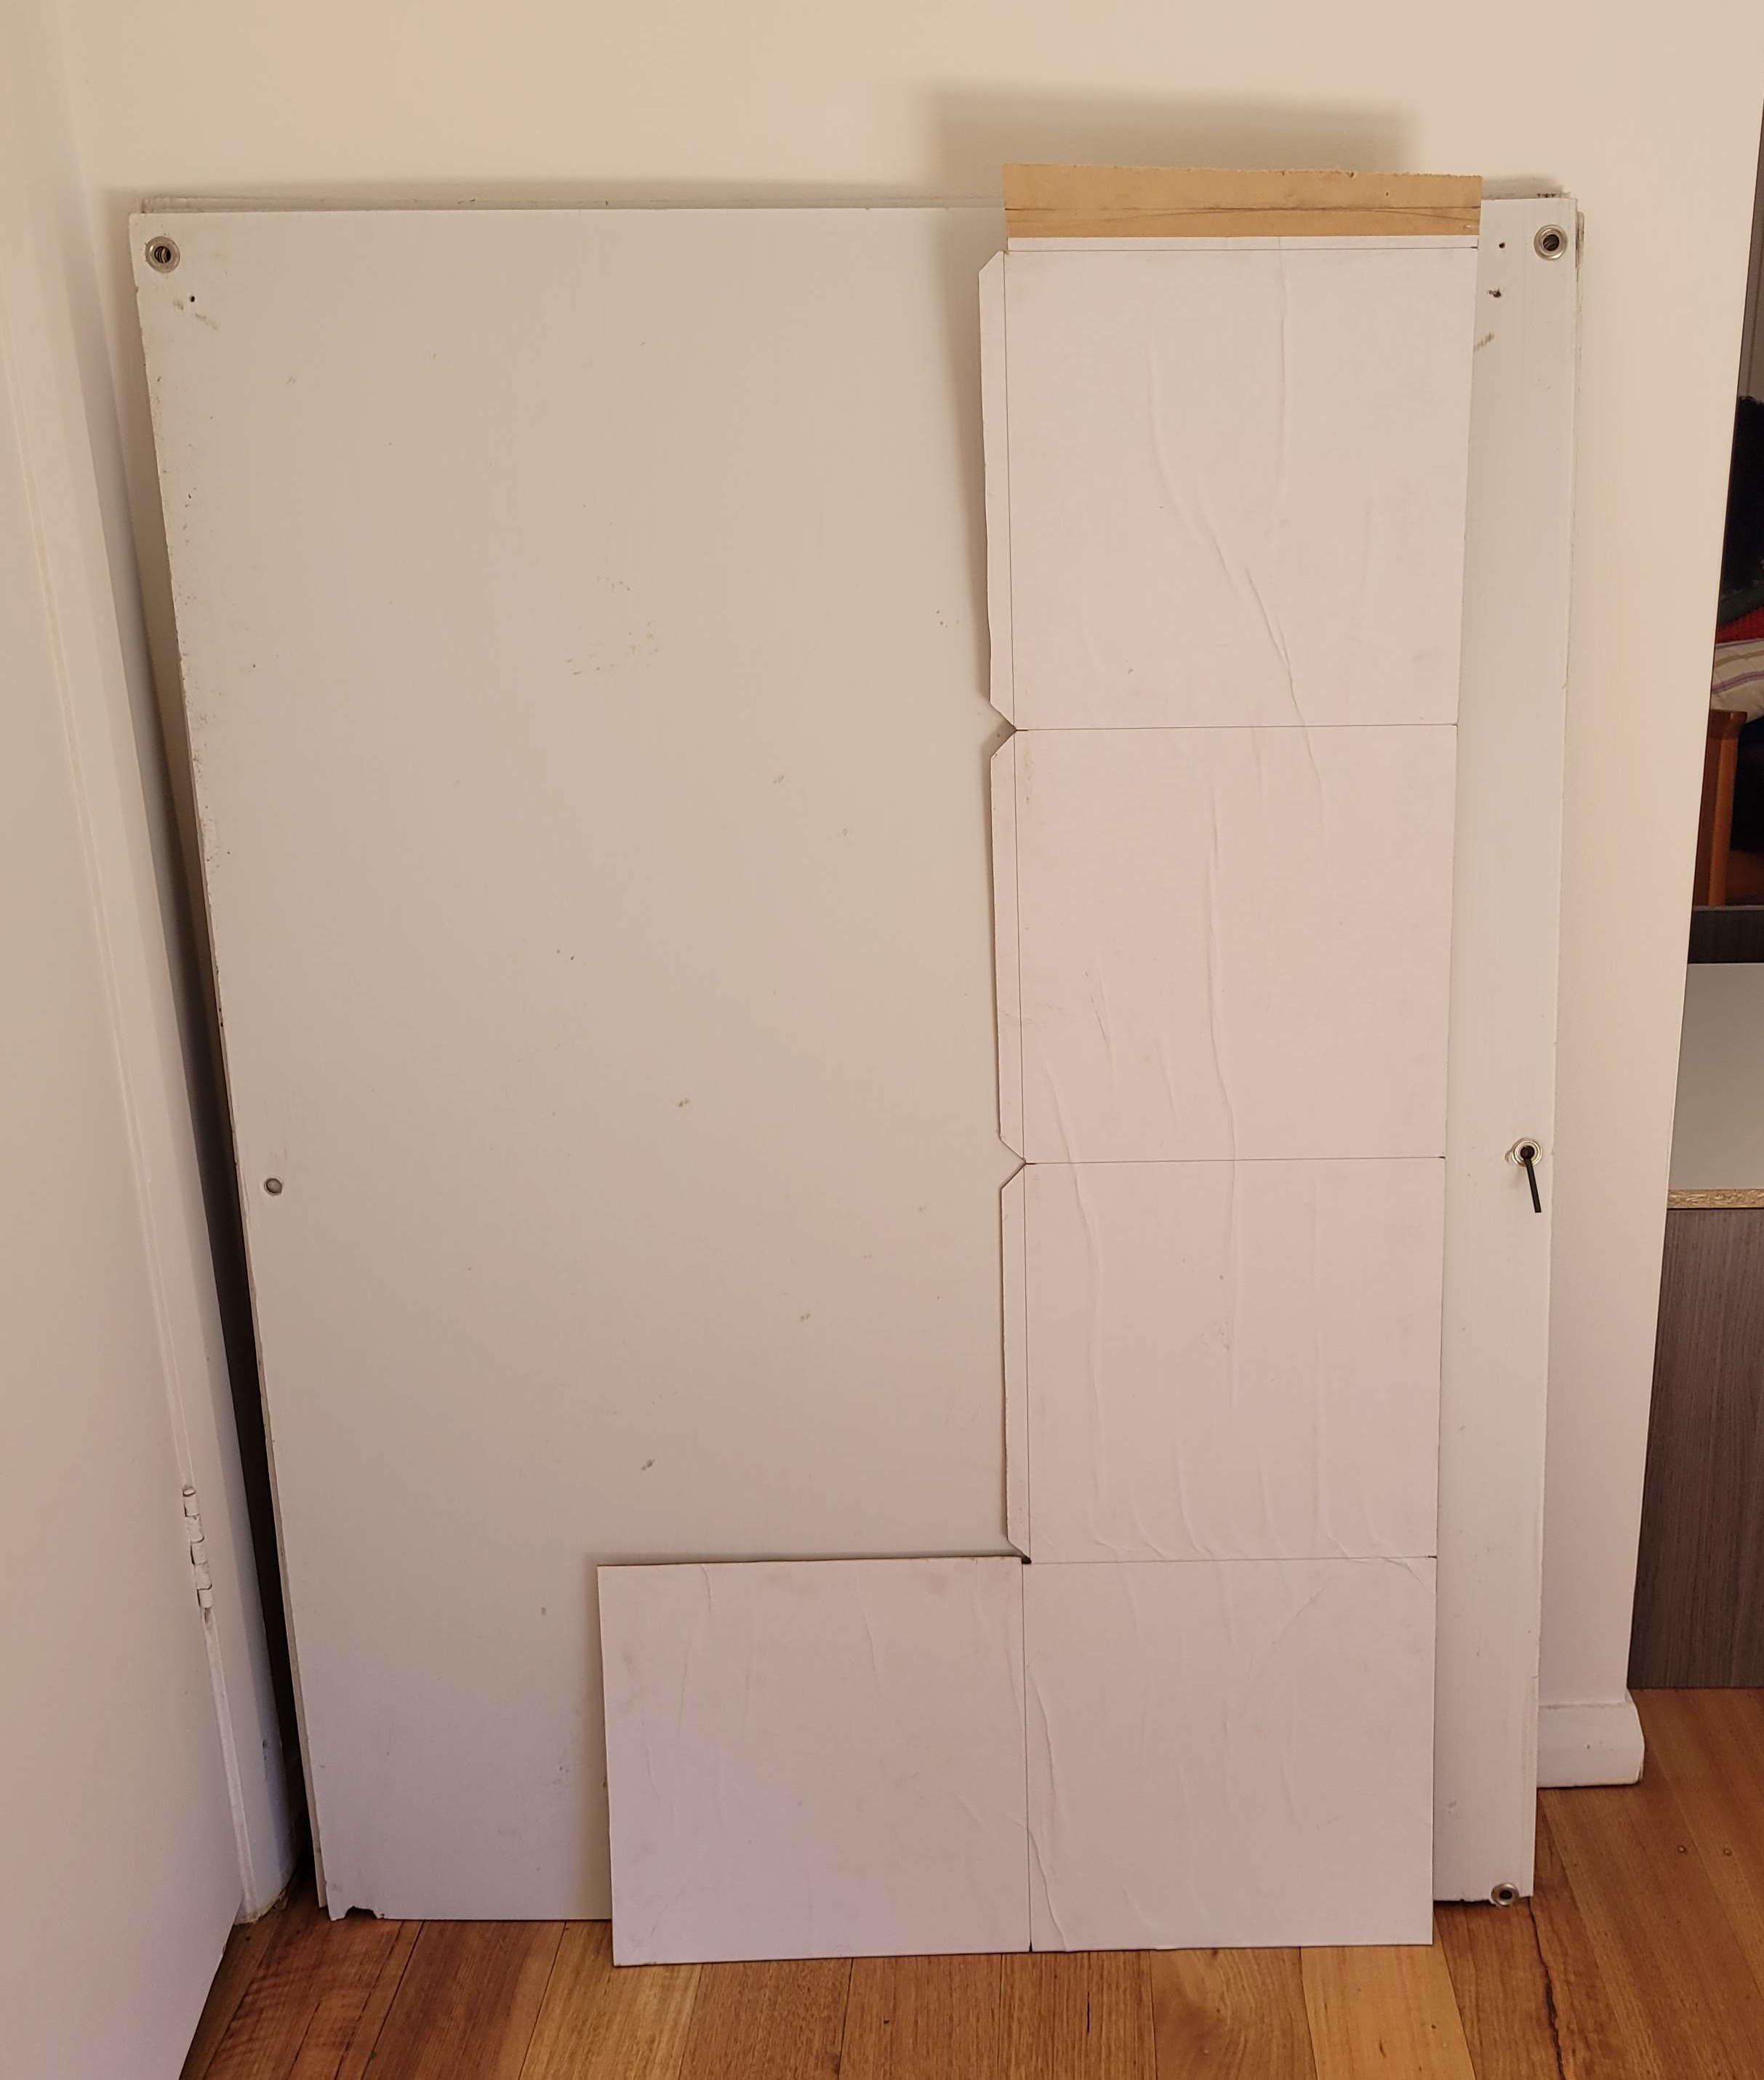
Now I can just lay the template on a half-sheet of corflute, mark around it with pencil, remove the template, then cut along the pencil lines with a utility knife and a steel ruler. Marking and cutting takes 10-15 minutes. The blanks fold up very nicely and fit snugly within the milk crate. Since the milk crate panels are about 30cm on a side, I can cut four L-shaped blanks from a single sheet of corflute, leaving just a 30x60cm piece from the middle that I can use for something else.
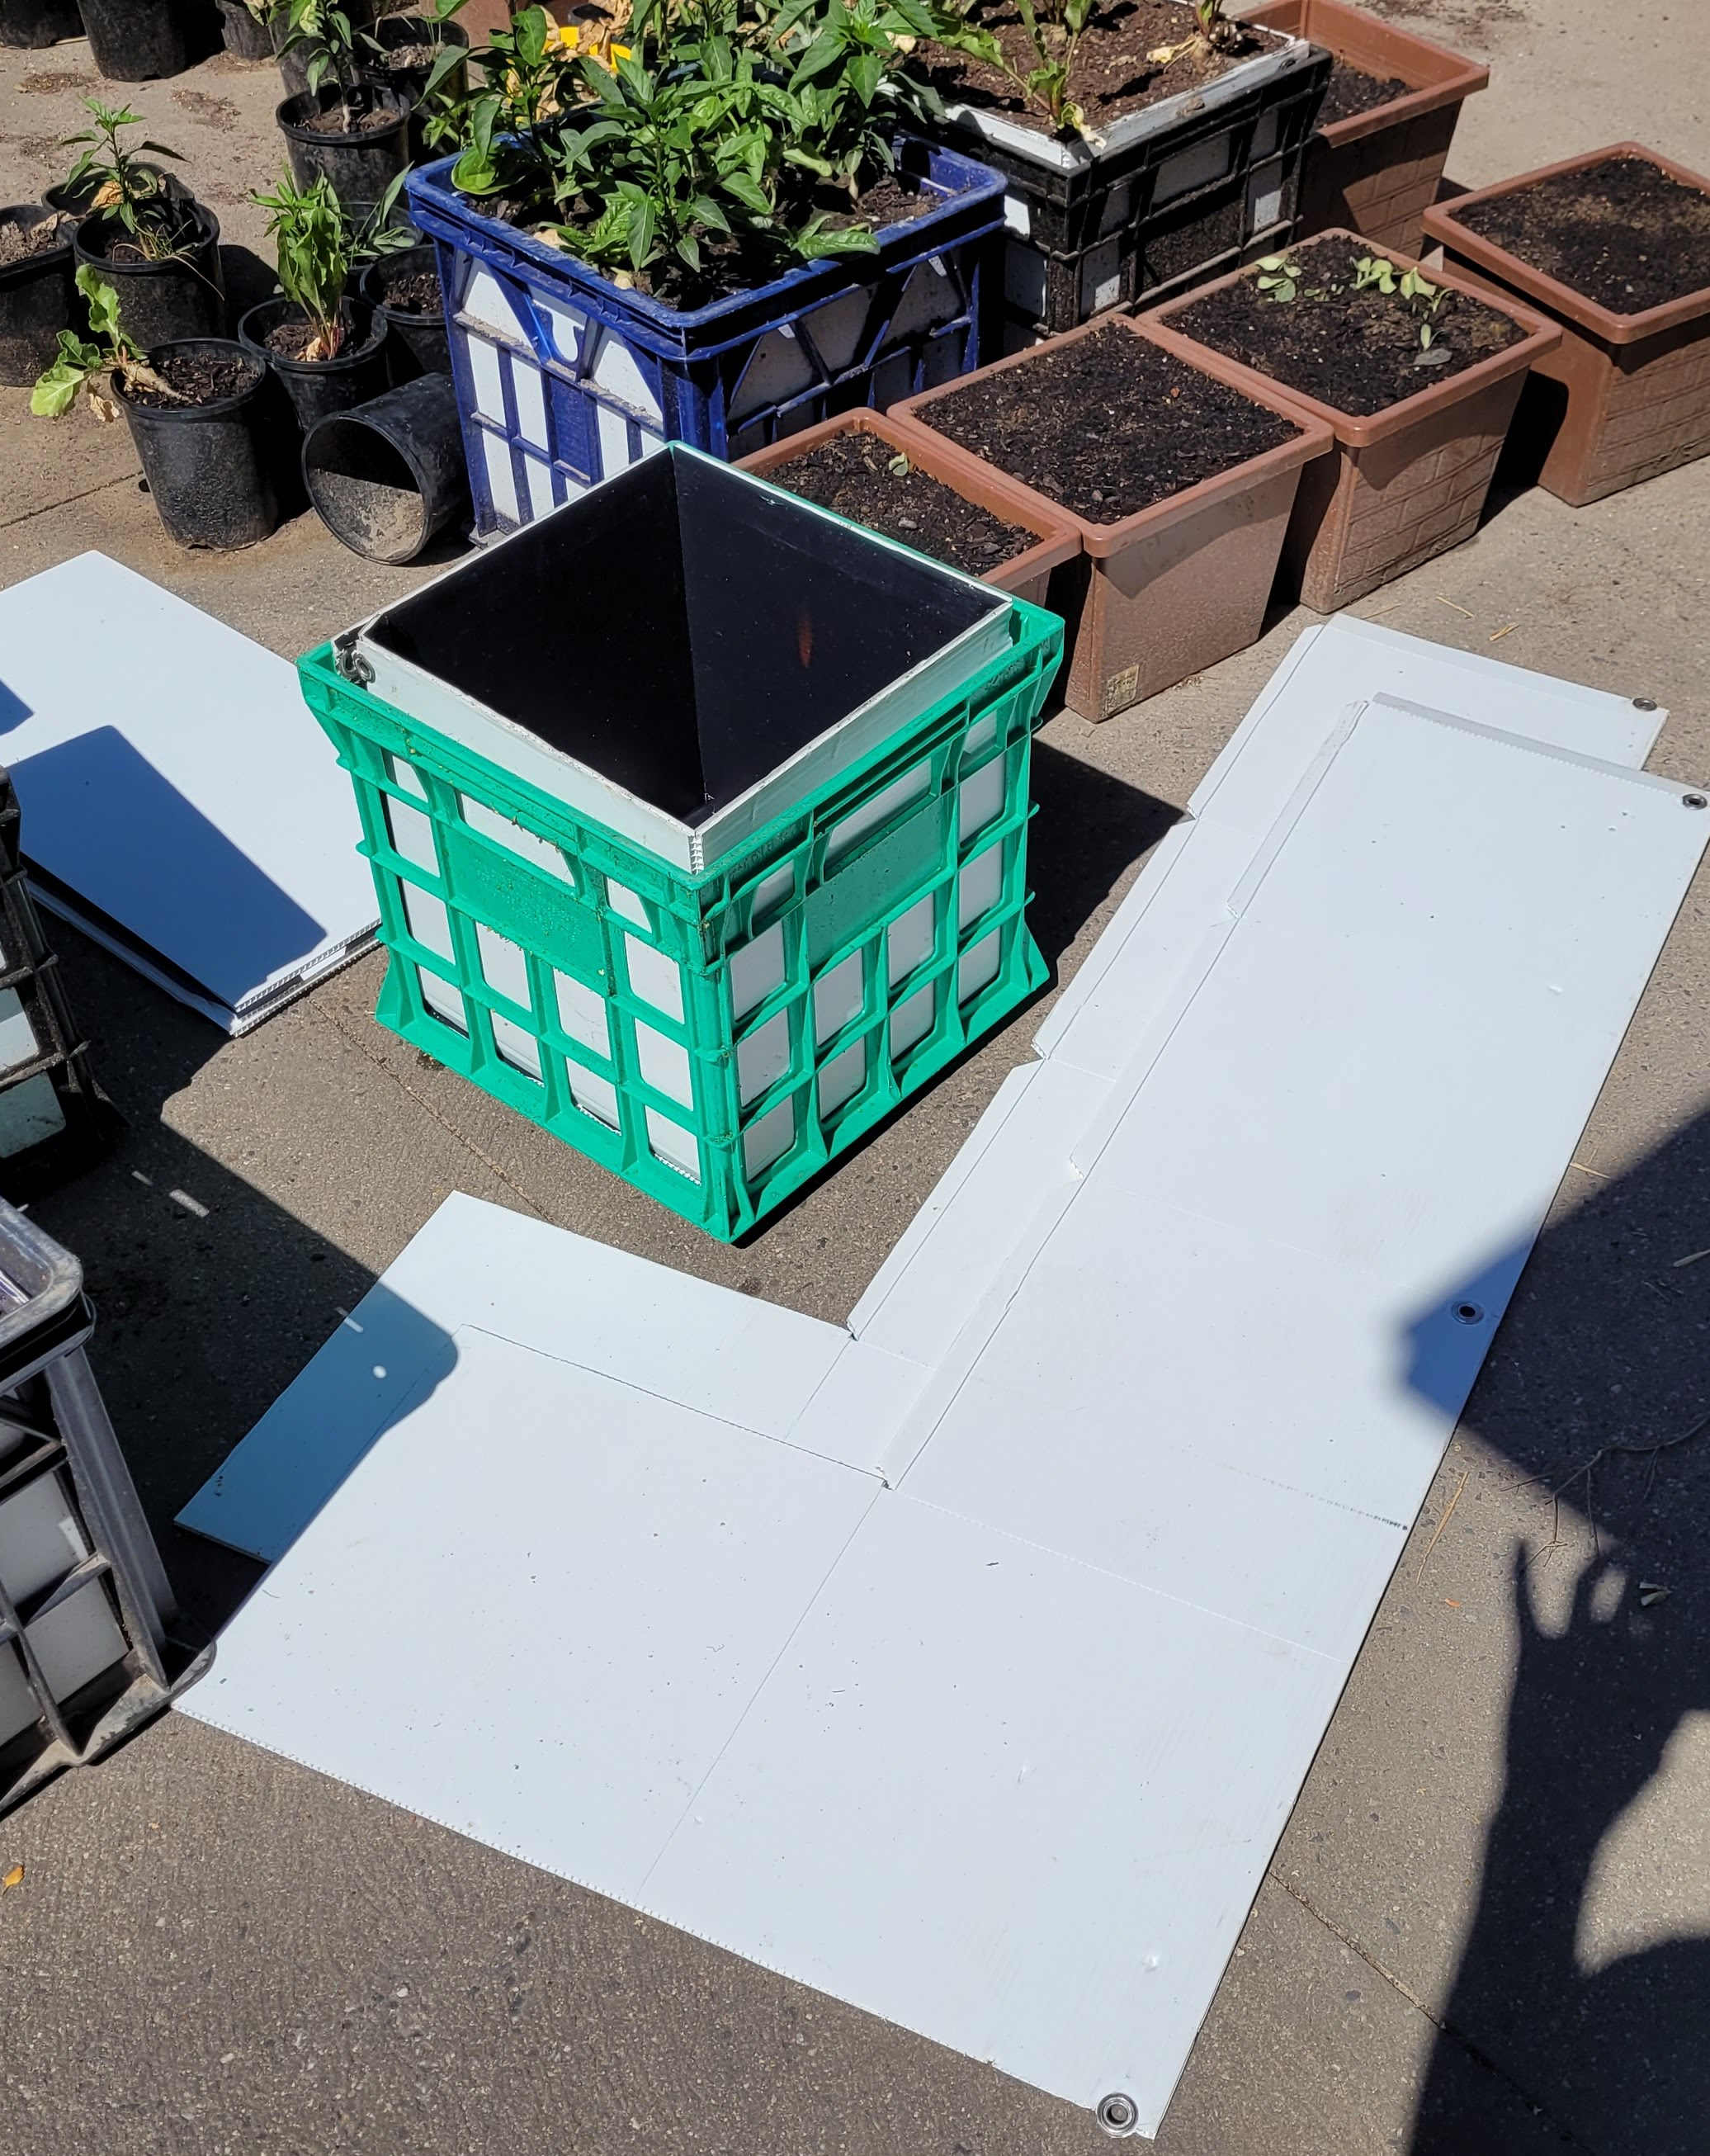
I’m planning to make a lot more of these boxes, and now that I have a template, it’s quite quick and reproducible. There’ll be a lot more of these soon.
Bonus: I also made a deeper box (shown above) using corflute and planks from a shipping pallet, held together with tek screws. It’s really rough, only intended to last one season:
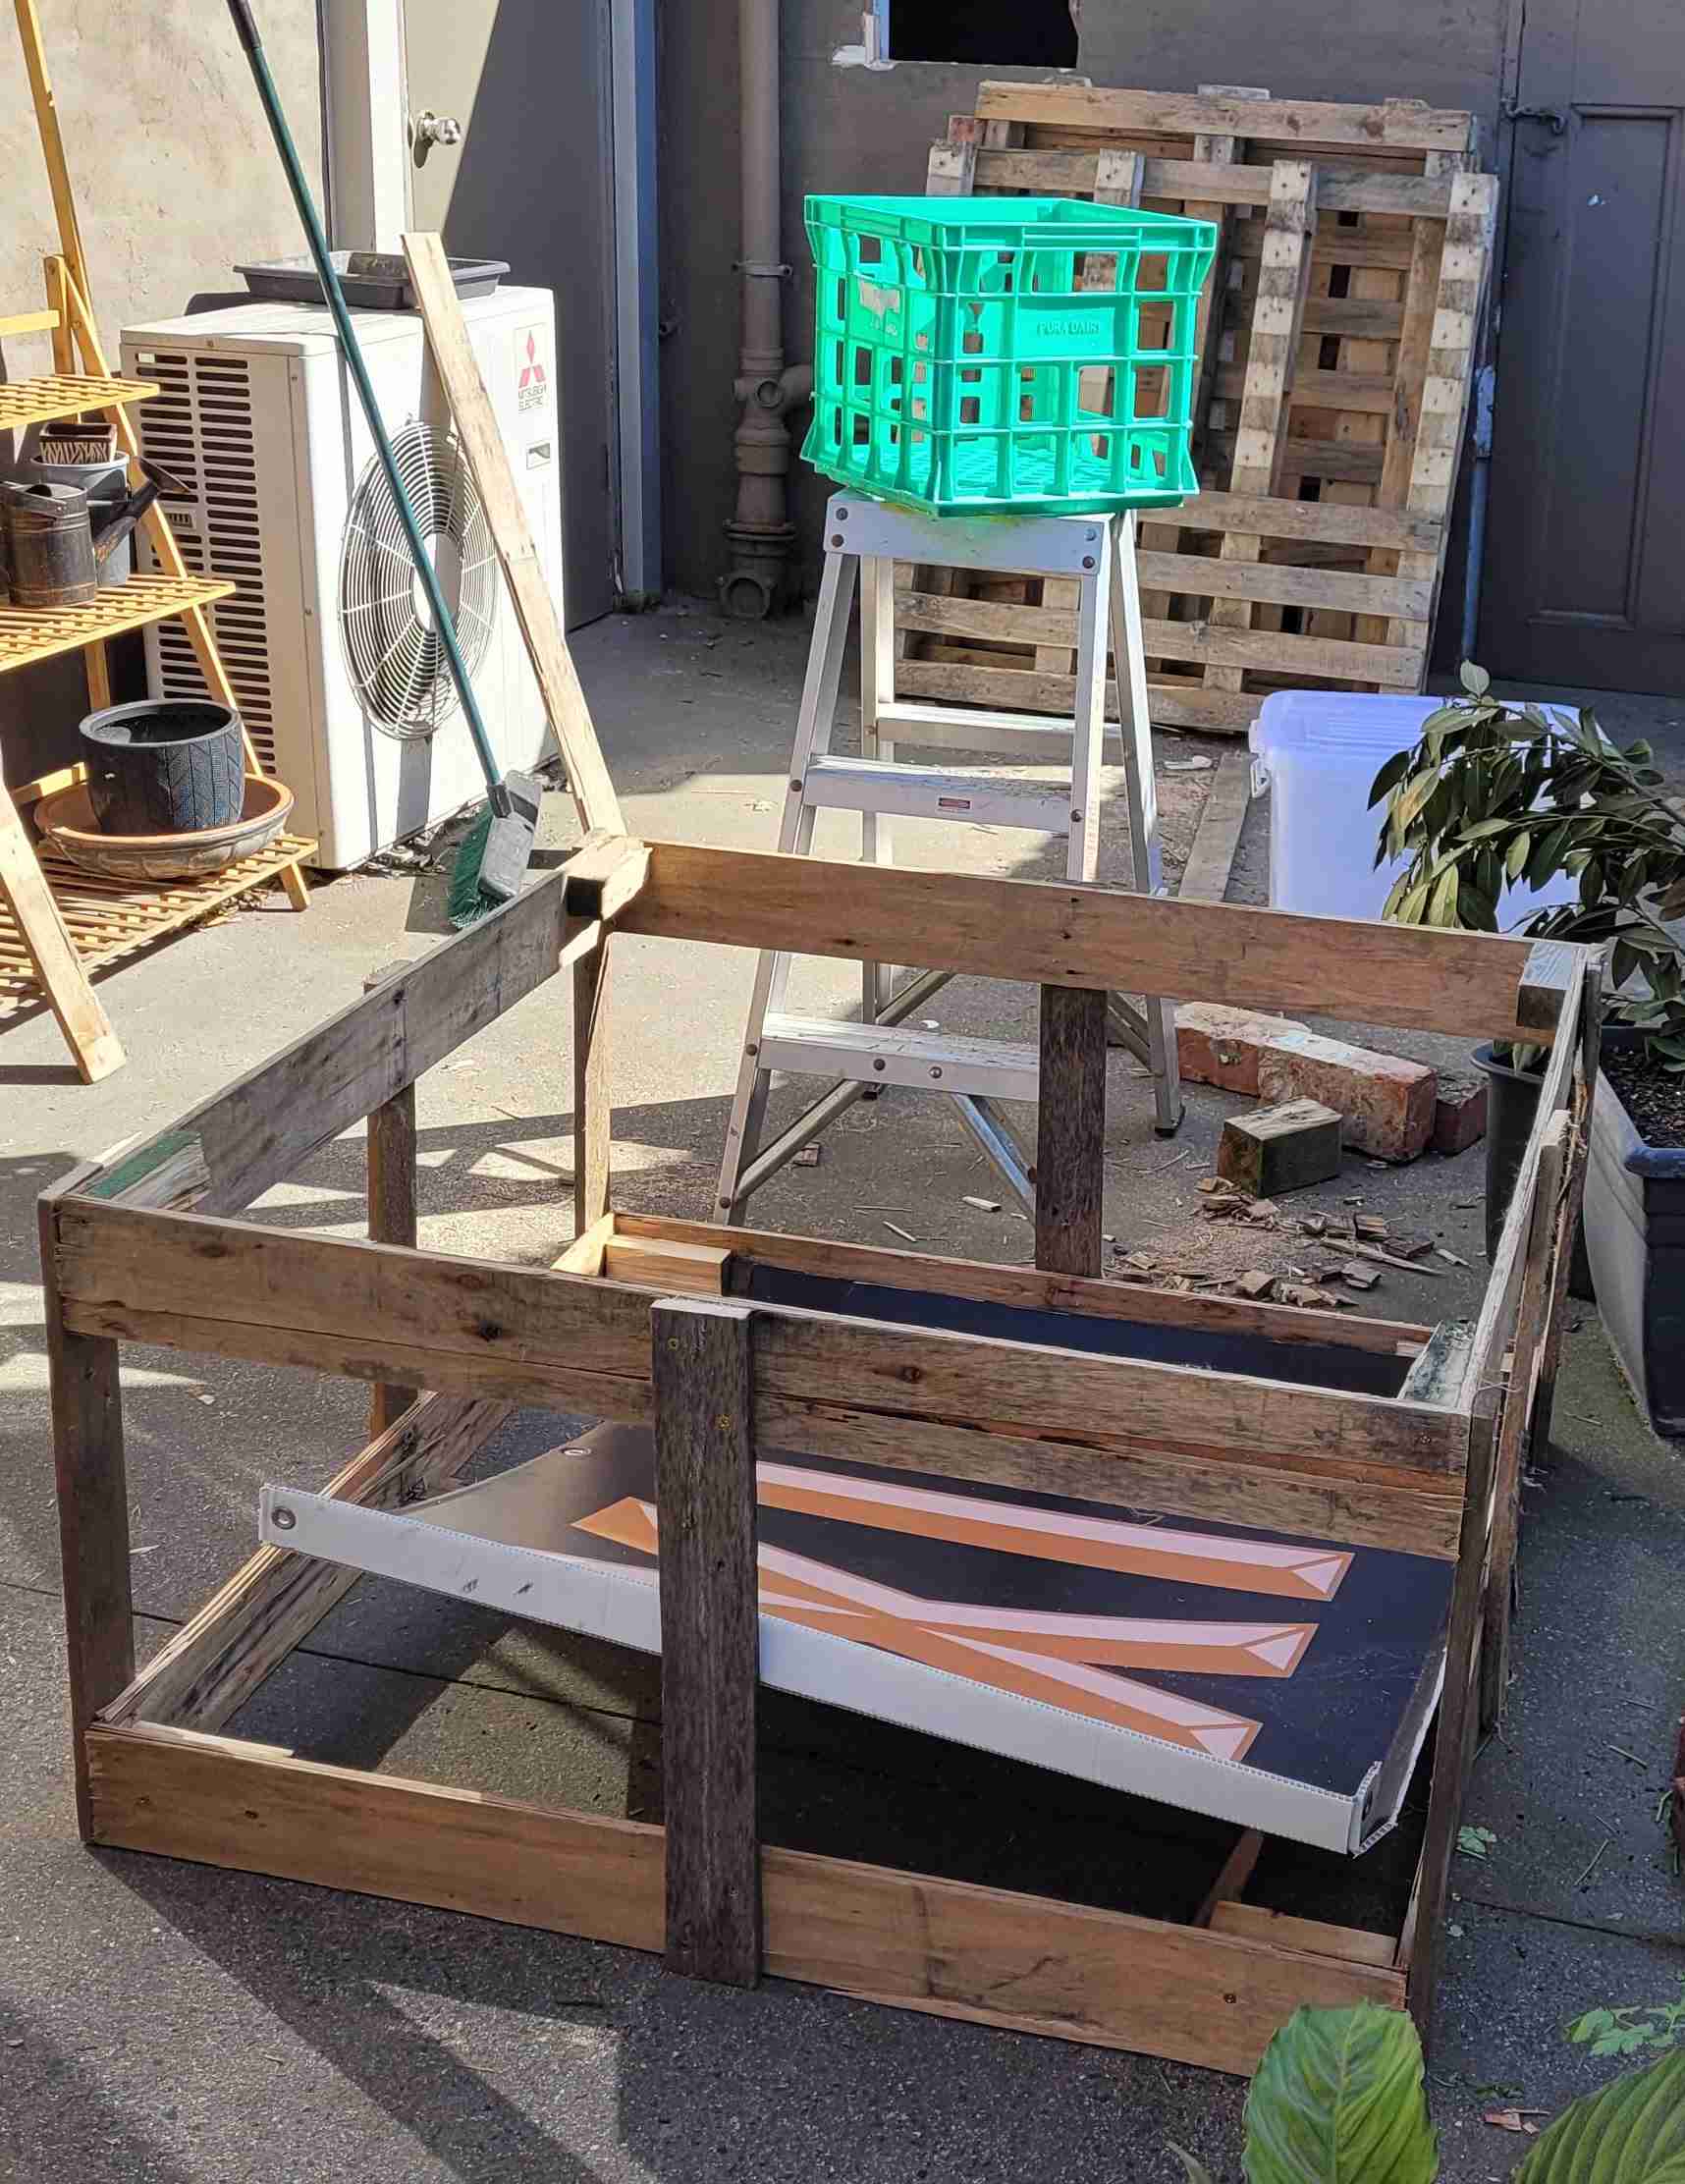
This box is especially suited to plants with taproots, such as radishes.
