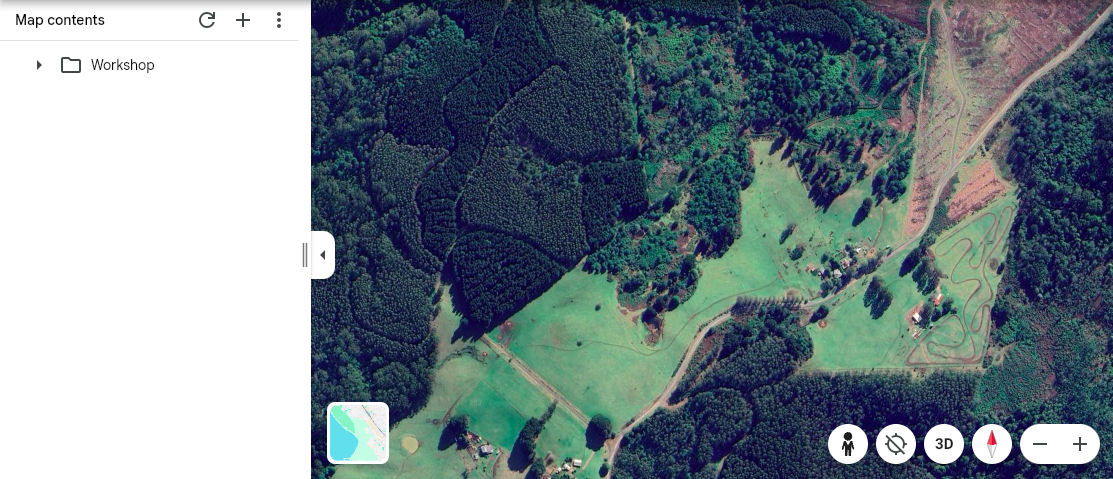
Google Earth lets you view your property and add layers containing objects you add to represent areas and points. But what if you want to add the official boundaries from your property’s title? Here’s how.
Requesting your property boundary data
Visit the Victorian Government’s Data Vic website.
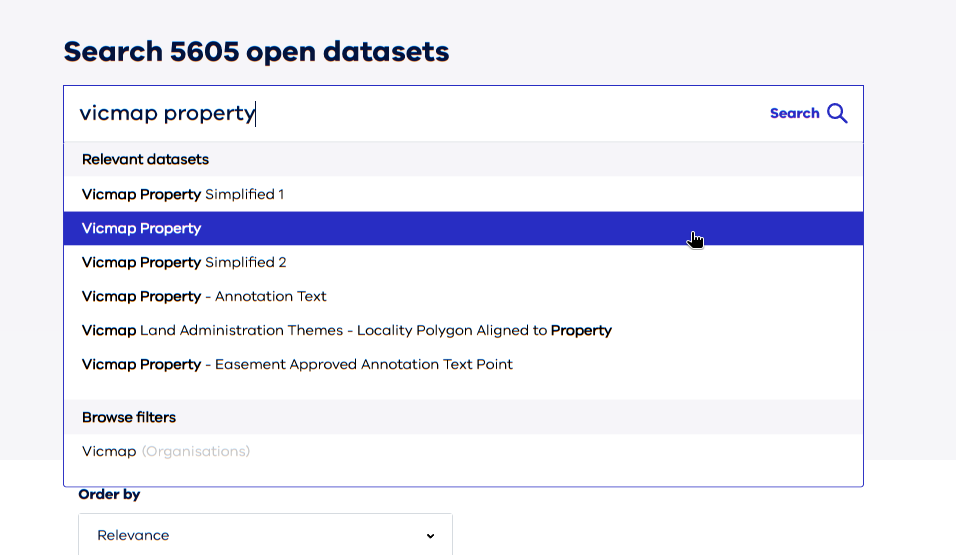
In the search bar, type in “Vicmap Property”, and click on the match:
On the following page, in the “Data and Resources” section, click on any “Go to resource” link (they are all the same).
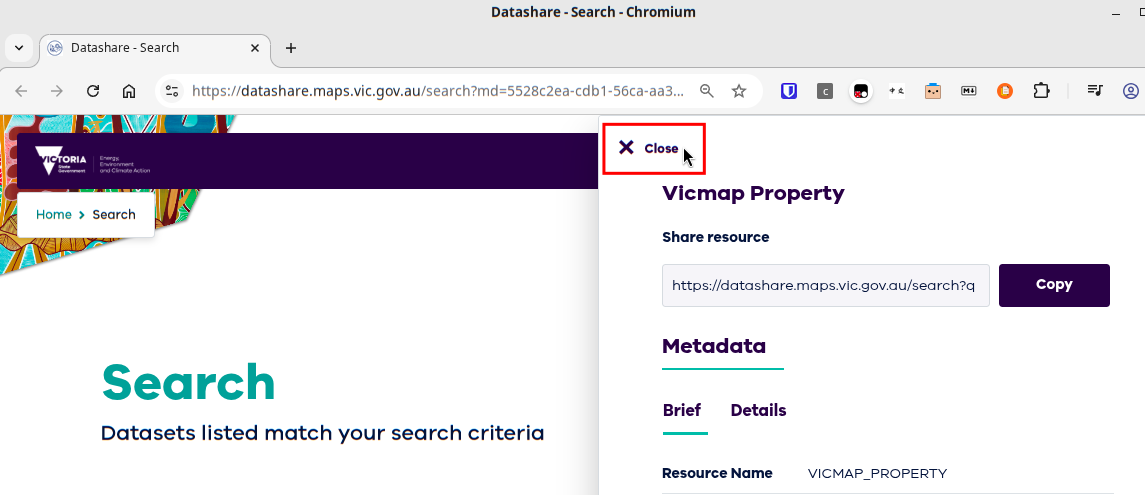
On the following page, click on the “Close” button in the subwindow on the right:
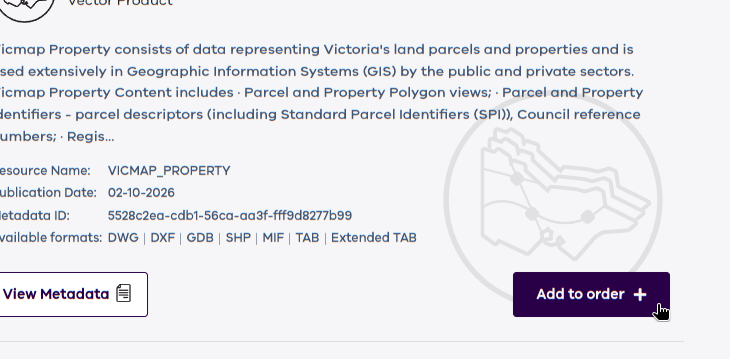
Click on “Add to order”:
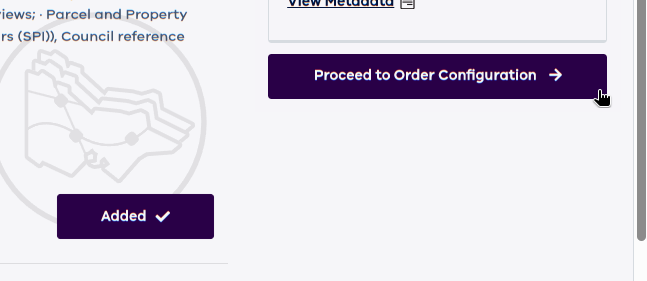
Click on “Proceed to Order Configuration”.
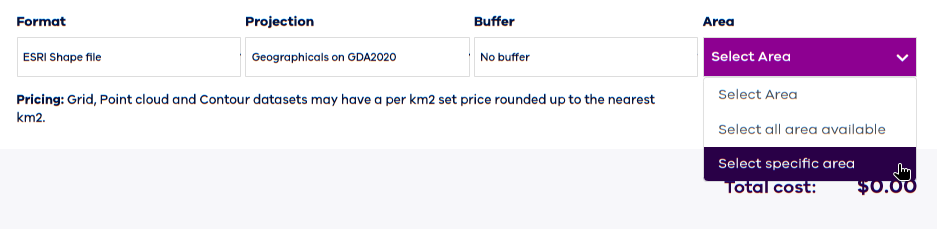
Under “Format”, choose “ESRI Shape file”. Under “Projection”, choose “Geographicals on GDA2020”. Under “Area”, choose “Select specific area”.
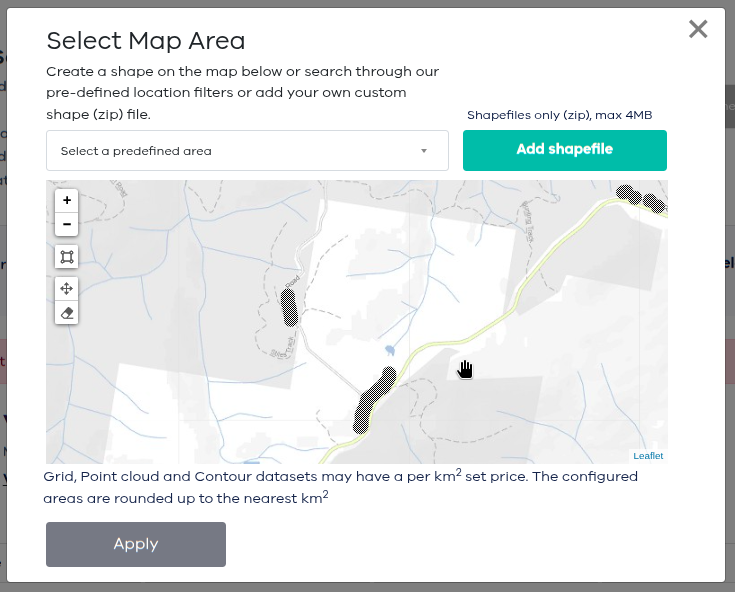
A subwindow with a map of Victoria will appear. Drag and scroll within the map to show your property and the surrounding area.
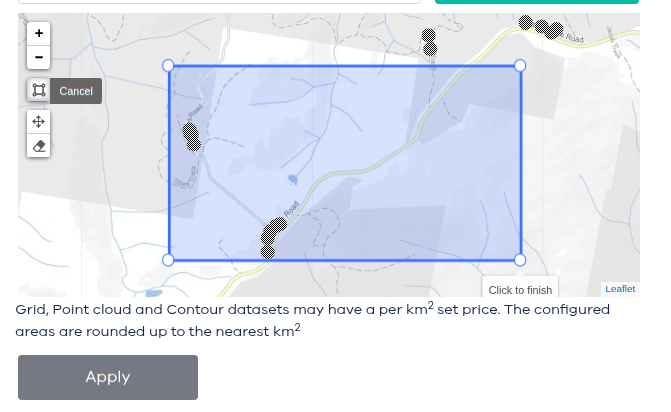
Click on the “Draw Rectangle” tool, then form a rectangle by clicking on a point to the top left of your property, then the bottom right. The rectangle should fully enclose your property.
Click “Apply”. The map subwindow should disappear.
Click “Proceed to My Cart”.
Click “Proceed to My Details”.
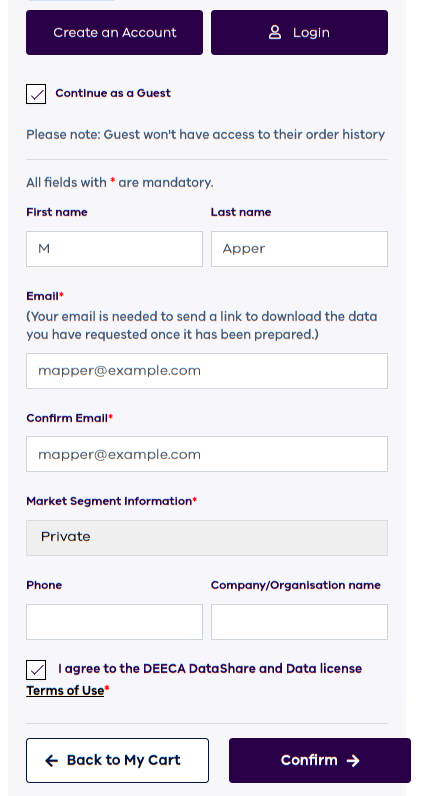
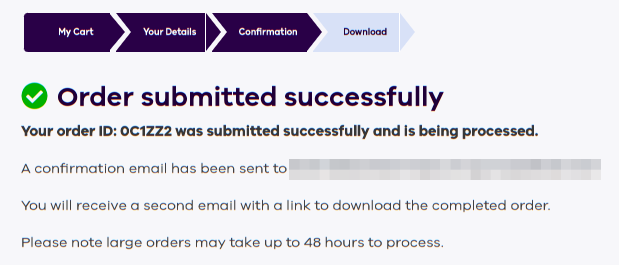
Click “Continue as a Guest”, and fill out your info. Check the “Terms of Use” box then click “Confirm”. You’ll see a page saying your order was submitted.
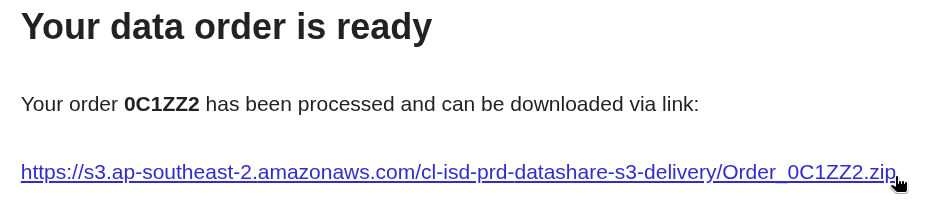
Wait for an email (took 5 minutes for me) titled “Your DataShare order is ready to download”. (You’ll also get a “Your DataShare order is confirmed” email, which you can ignore).Click on the “ready to download” email. Click on the link within that email:Save the .zip file to your computer.
Trimming the data to just your property
It’s probable that the .zip file you received contains many property outlines over a wide area. Let’s trim it down to just be your property.
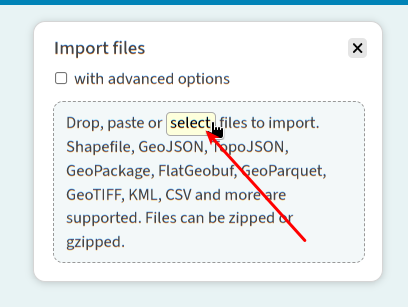
Drag the .zip file onto the mapshaper page. (If you don’t know how to do this, choose “Select”, then find the .zip file where you saved it)
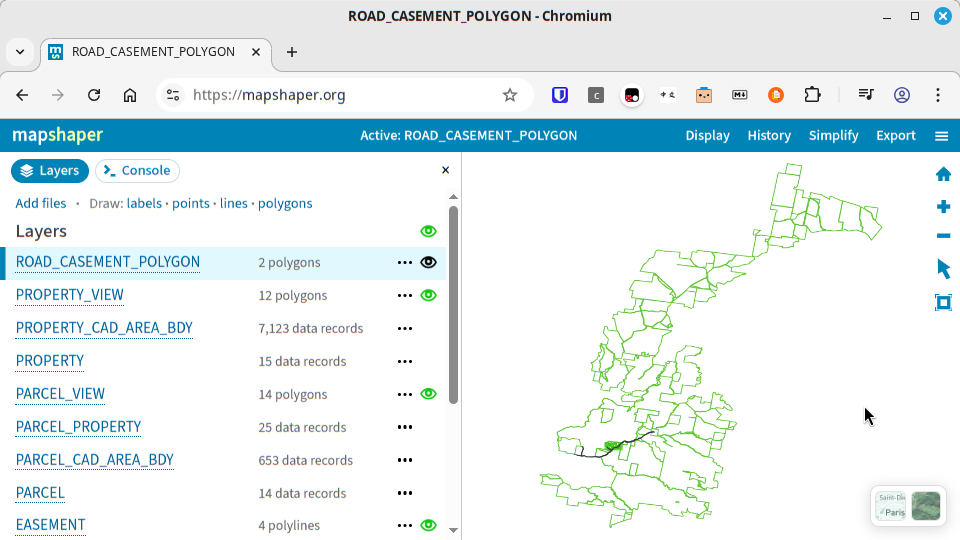
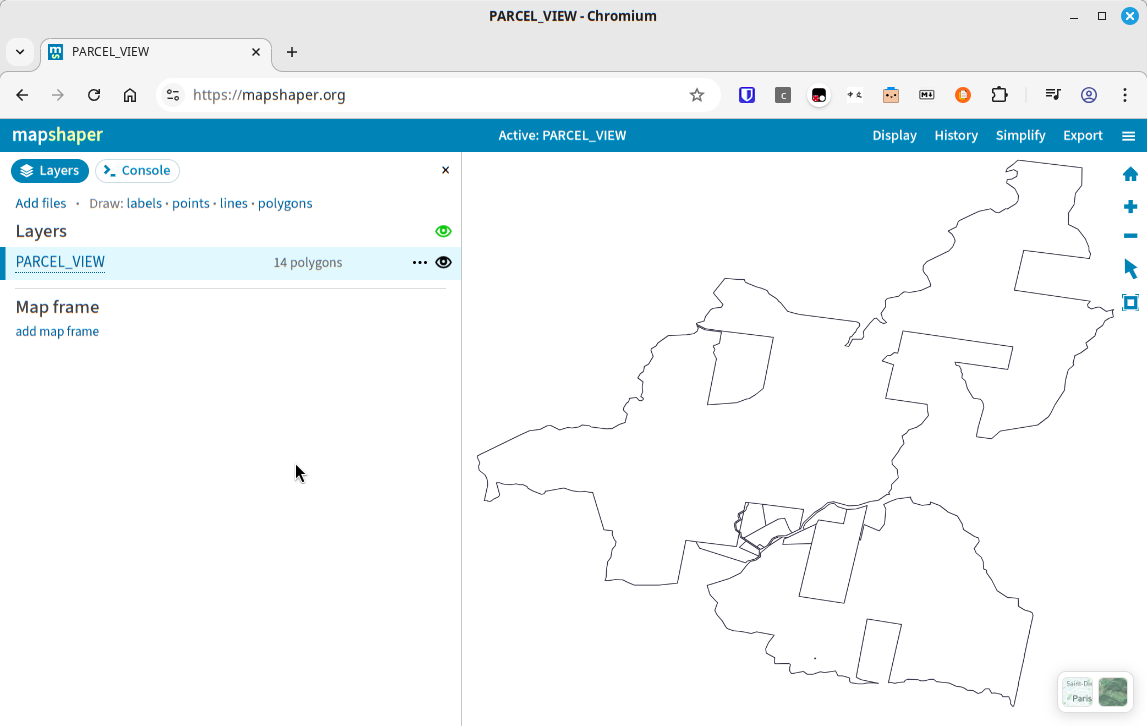
Observe what got loaded:
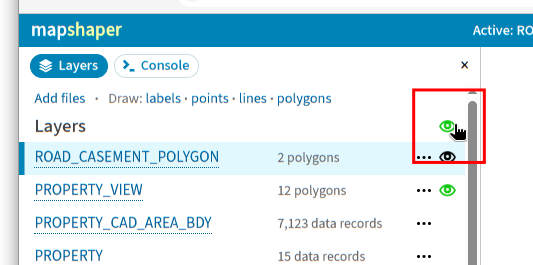
Click on the “eye” icon to the rlght of Layers to turn off all layers.
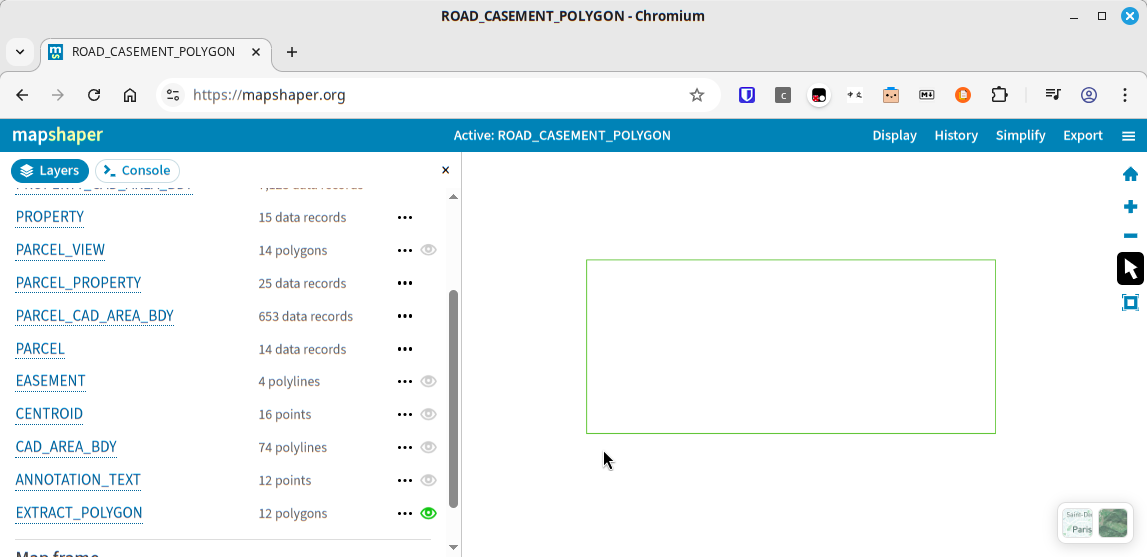
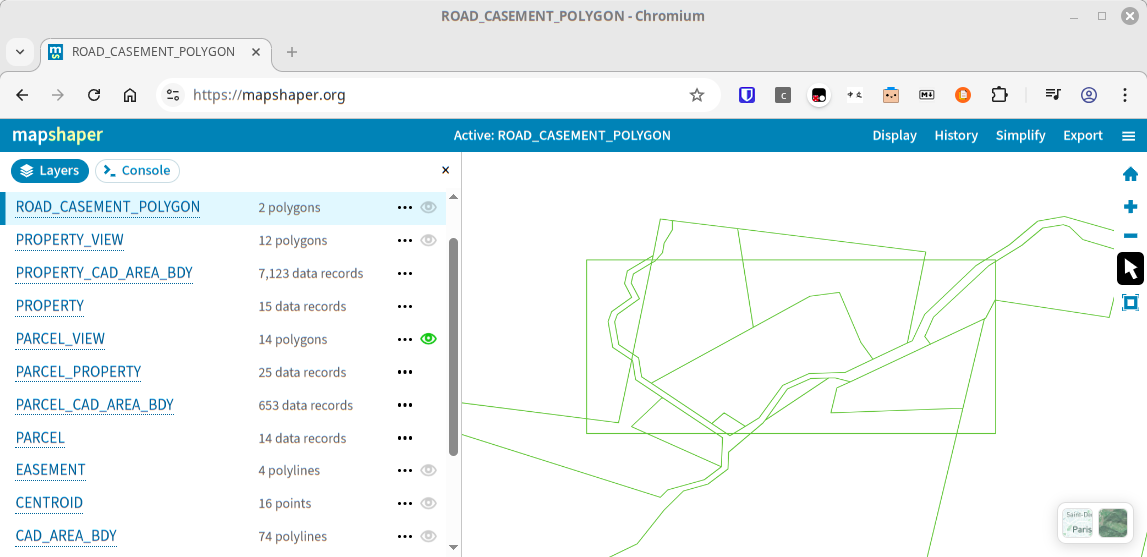
Find the EXTRACT_POLYGON layer and click the “eye” icon next to it. The map should show a rectangle. Zoom and pan with the mouse to just show this rectangle.Click the “eye” icon next to the various layers until you find the one that contains the boundary information for your property. (For me this is the PARCEL_VIEW layer). Tip: Don’t click on layers that don’t have an eye icon.
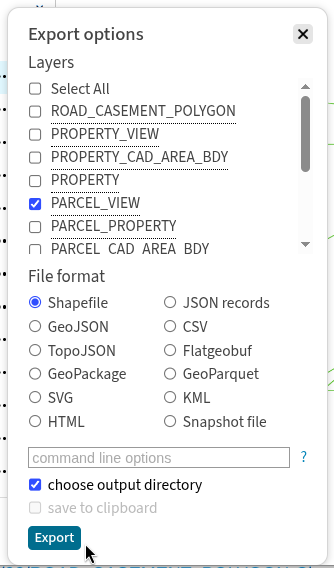
Click the “Export” button at top right. Click “Select All” to deselect all layers, then click the layer or layers you need for your property, for example, PARCEL_VIEW. Leave “File format” as “Shapefile”. Click “Export”.
When prompted, save the .zip file to your computer.
Open mapshaper again: https://mapshaper.org/. Load in the .zip file you just downloaded. This time the number of layers you see should be greatly reduced. You’ll still see boundaries for many properties, so let’s cull them.
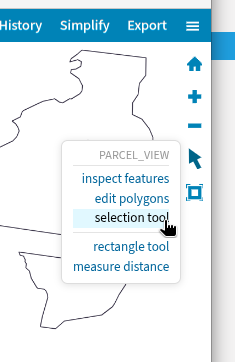
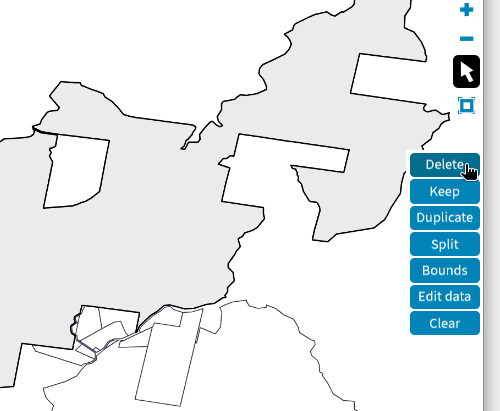
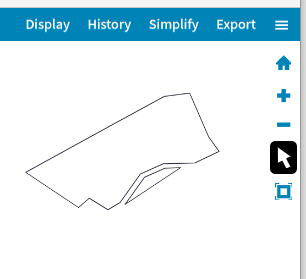
Move the mouse cursor to the arrow icon on the left side, and select “Selection tool”. Click on a polygon that’s not your property, then click the “Delete” button. Keep clicking and deleting polygons until only your property remains. Zoom in as necessary. If you accidentally delete your property, press Control-Z (Windows) or Command-Z (Mac) to restore it. Export the data as before. It’s ok to overwrite the old .zip file.
Importing into Google Earth
Open your Google Earth project.
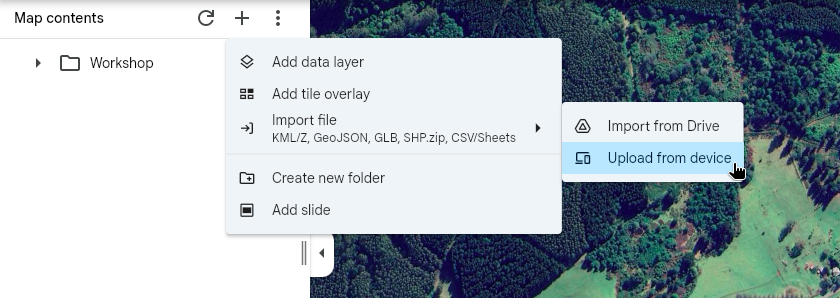
Click the “+” next to “Map contents”, then “Import file” then “Upload from device”.
Choose the .zip file you exported from mapshaper, for example, PARCEL_VIEW.zip.
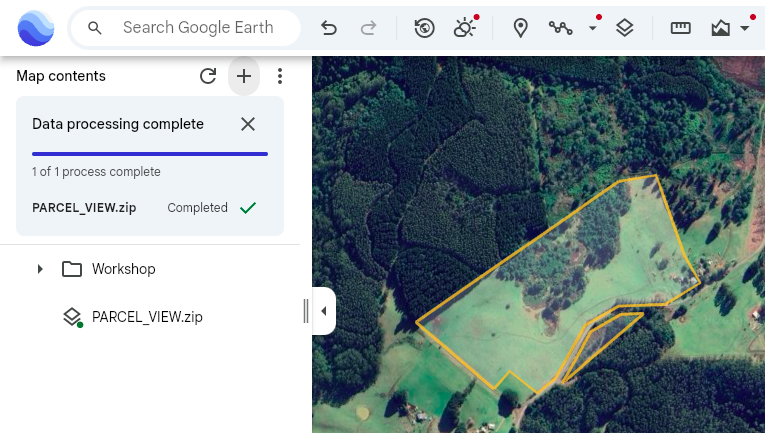
Google Earth will ask “How do you want to add this data?”. Choose “Data layer”, then click “Finish”. Google Earth will say “Processing data…”, then after a while, “Data processing complete”. You should then see a layer with the name of the .zip file, and the boundaries of your property. Enjoy!
So, I’m looking to buy some land for a farm. Something with a house where I can be largely self-sufficient. I want to grow food and pasture and trees, and have a cow and some sheep, so one important criterion is rainfall. I have a…
Did you know you can add your own functions to a Google Sheet spreadsheet? Let’s say you have a list of place names (which for this example just happen to be libraries): And let’s say you want to find the latitude and longitude for these…